Restoring & Protecting Your Boat’s Gelcoat
If this is your first time correcting and protecting a boat, you’re not alone. Gelcoat care isn’t complicated, but it is chemical and environmental science in action. Understanding the why behind each step ensures your results last, instead of fading in weeks. This guide walks you through everything properly, safely, and professionally.

What is oxidation
Simply put, oxidation is chemistry. It's the result of your boat's gelcoat being broken down by sun exposure, which can be made even worse or occur faster due to the use of harsh chemicals and lack of proper protection. Gelcoat is porous, like your skin. Over time, UV rays, hard minerals, water and oxygen break down the gelcoat's chemical composition. The surface of the gelcoat dries out first, and the longer your boat remains exposed, the deeper into the oxidation affects. When oxidation is severe, it begins to turn chalky and that chalk is essentially "dead" gelcoat, similar to how a sun burn can lead to a simple sunburn or when more severe, "dead skin." One is more easily cared for than the other.

CORRECTION
Required Tools
The proper tools and techniques are essential for proper surface correction. Every surface is unique, as-is every surface's condition. That is why it is essential to set your project up for success with everything you need to dial in your results. Below are the recommended tools for use with our diminishing abrasive compound:
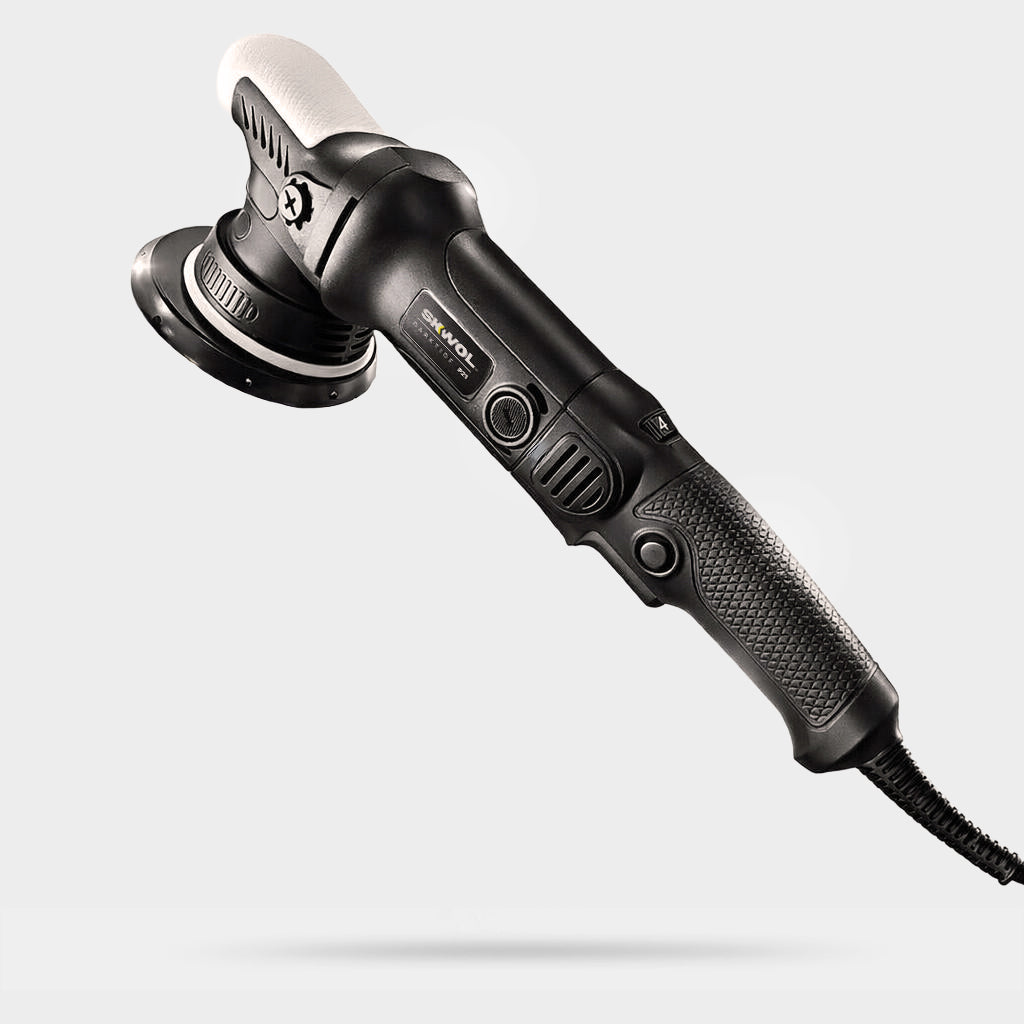
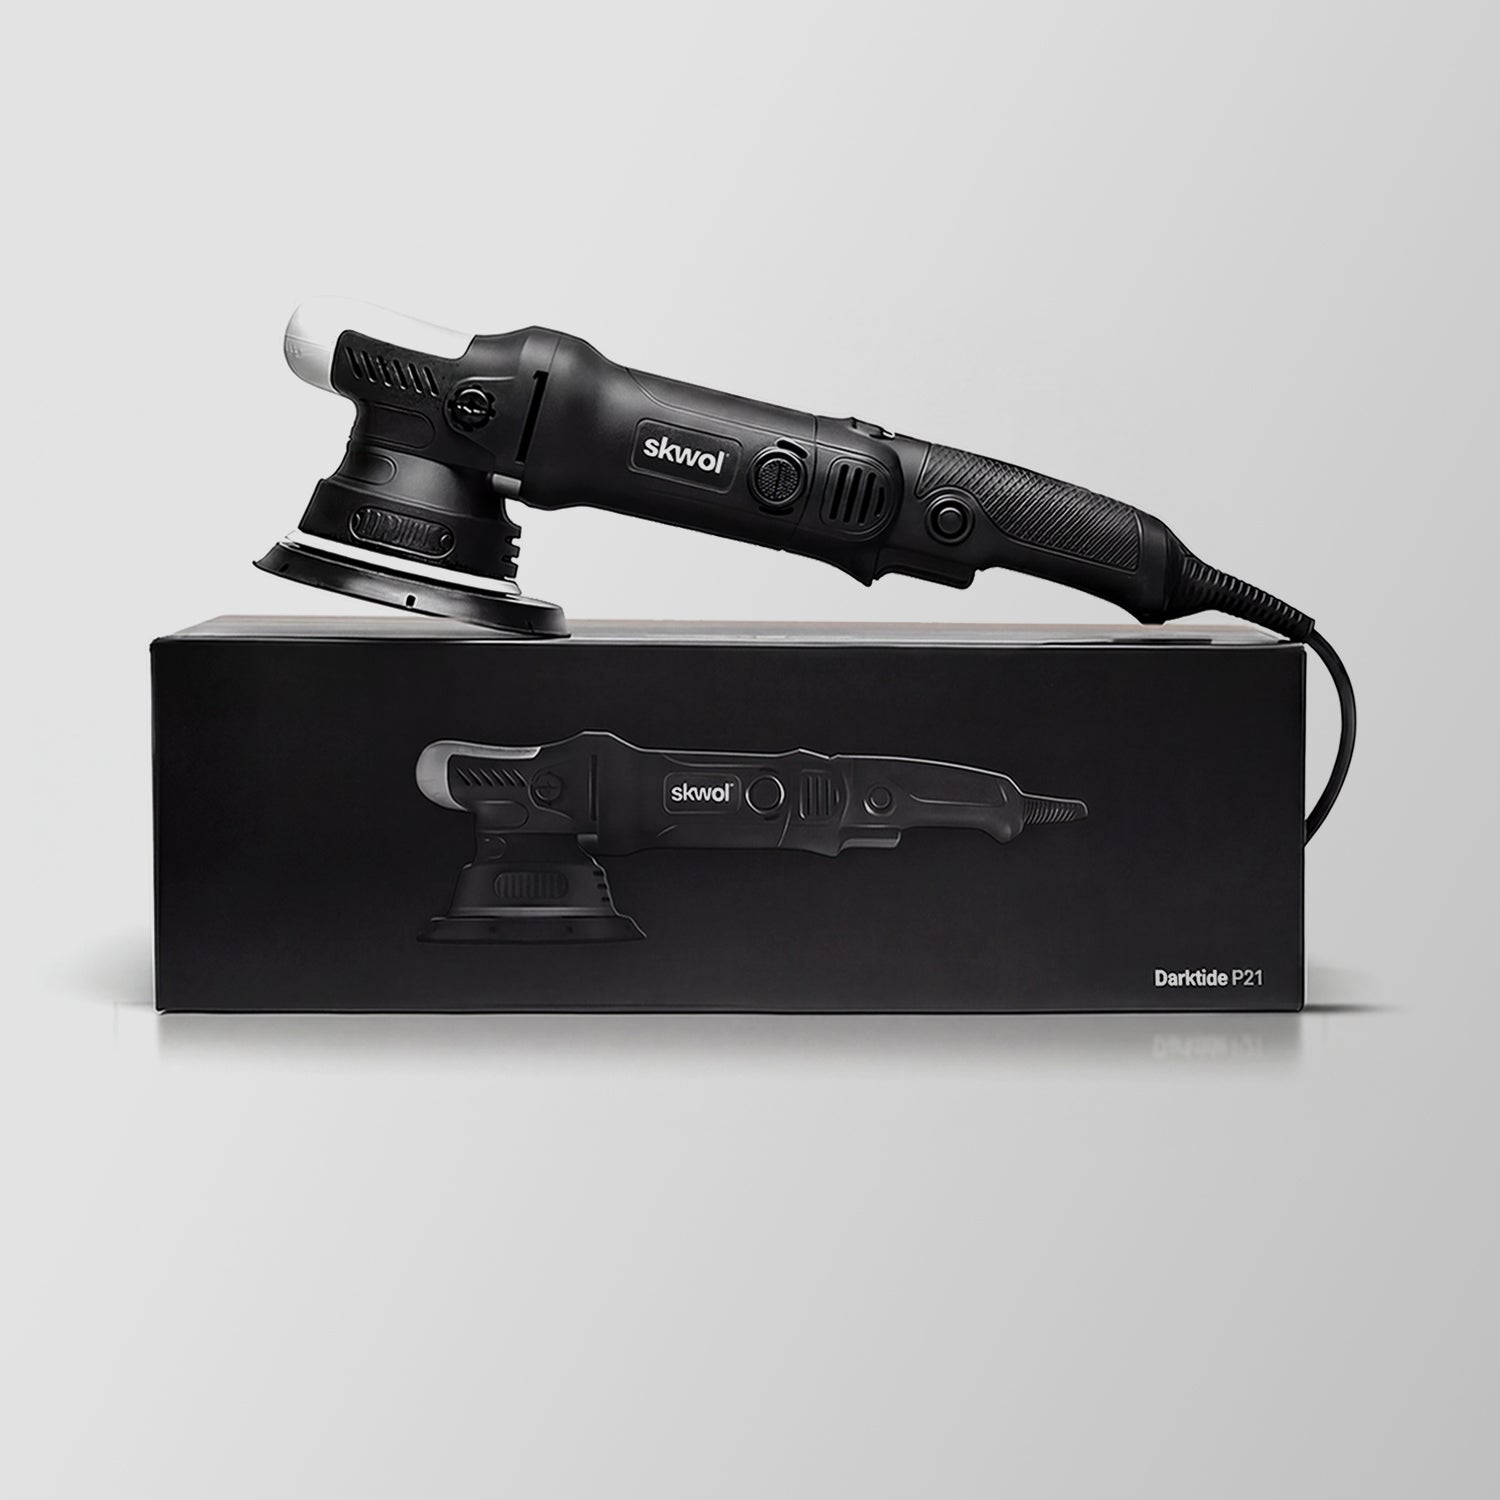
High Speed Polisher
For best results, use a polisher with sufficient power to maintain pad rotation under light pressure. Low-powered consumer polishers and wax spreaders often lack the cutting ability required for gelcoat correction and may significantly reduce effectiveness. For user-friendly operation and best results, a 6" 21mm Dual Action Polisher is recommended.
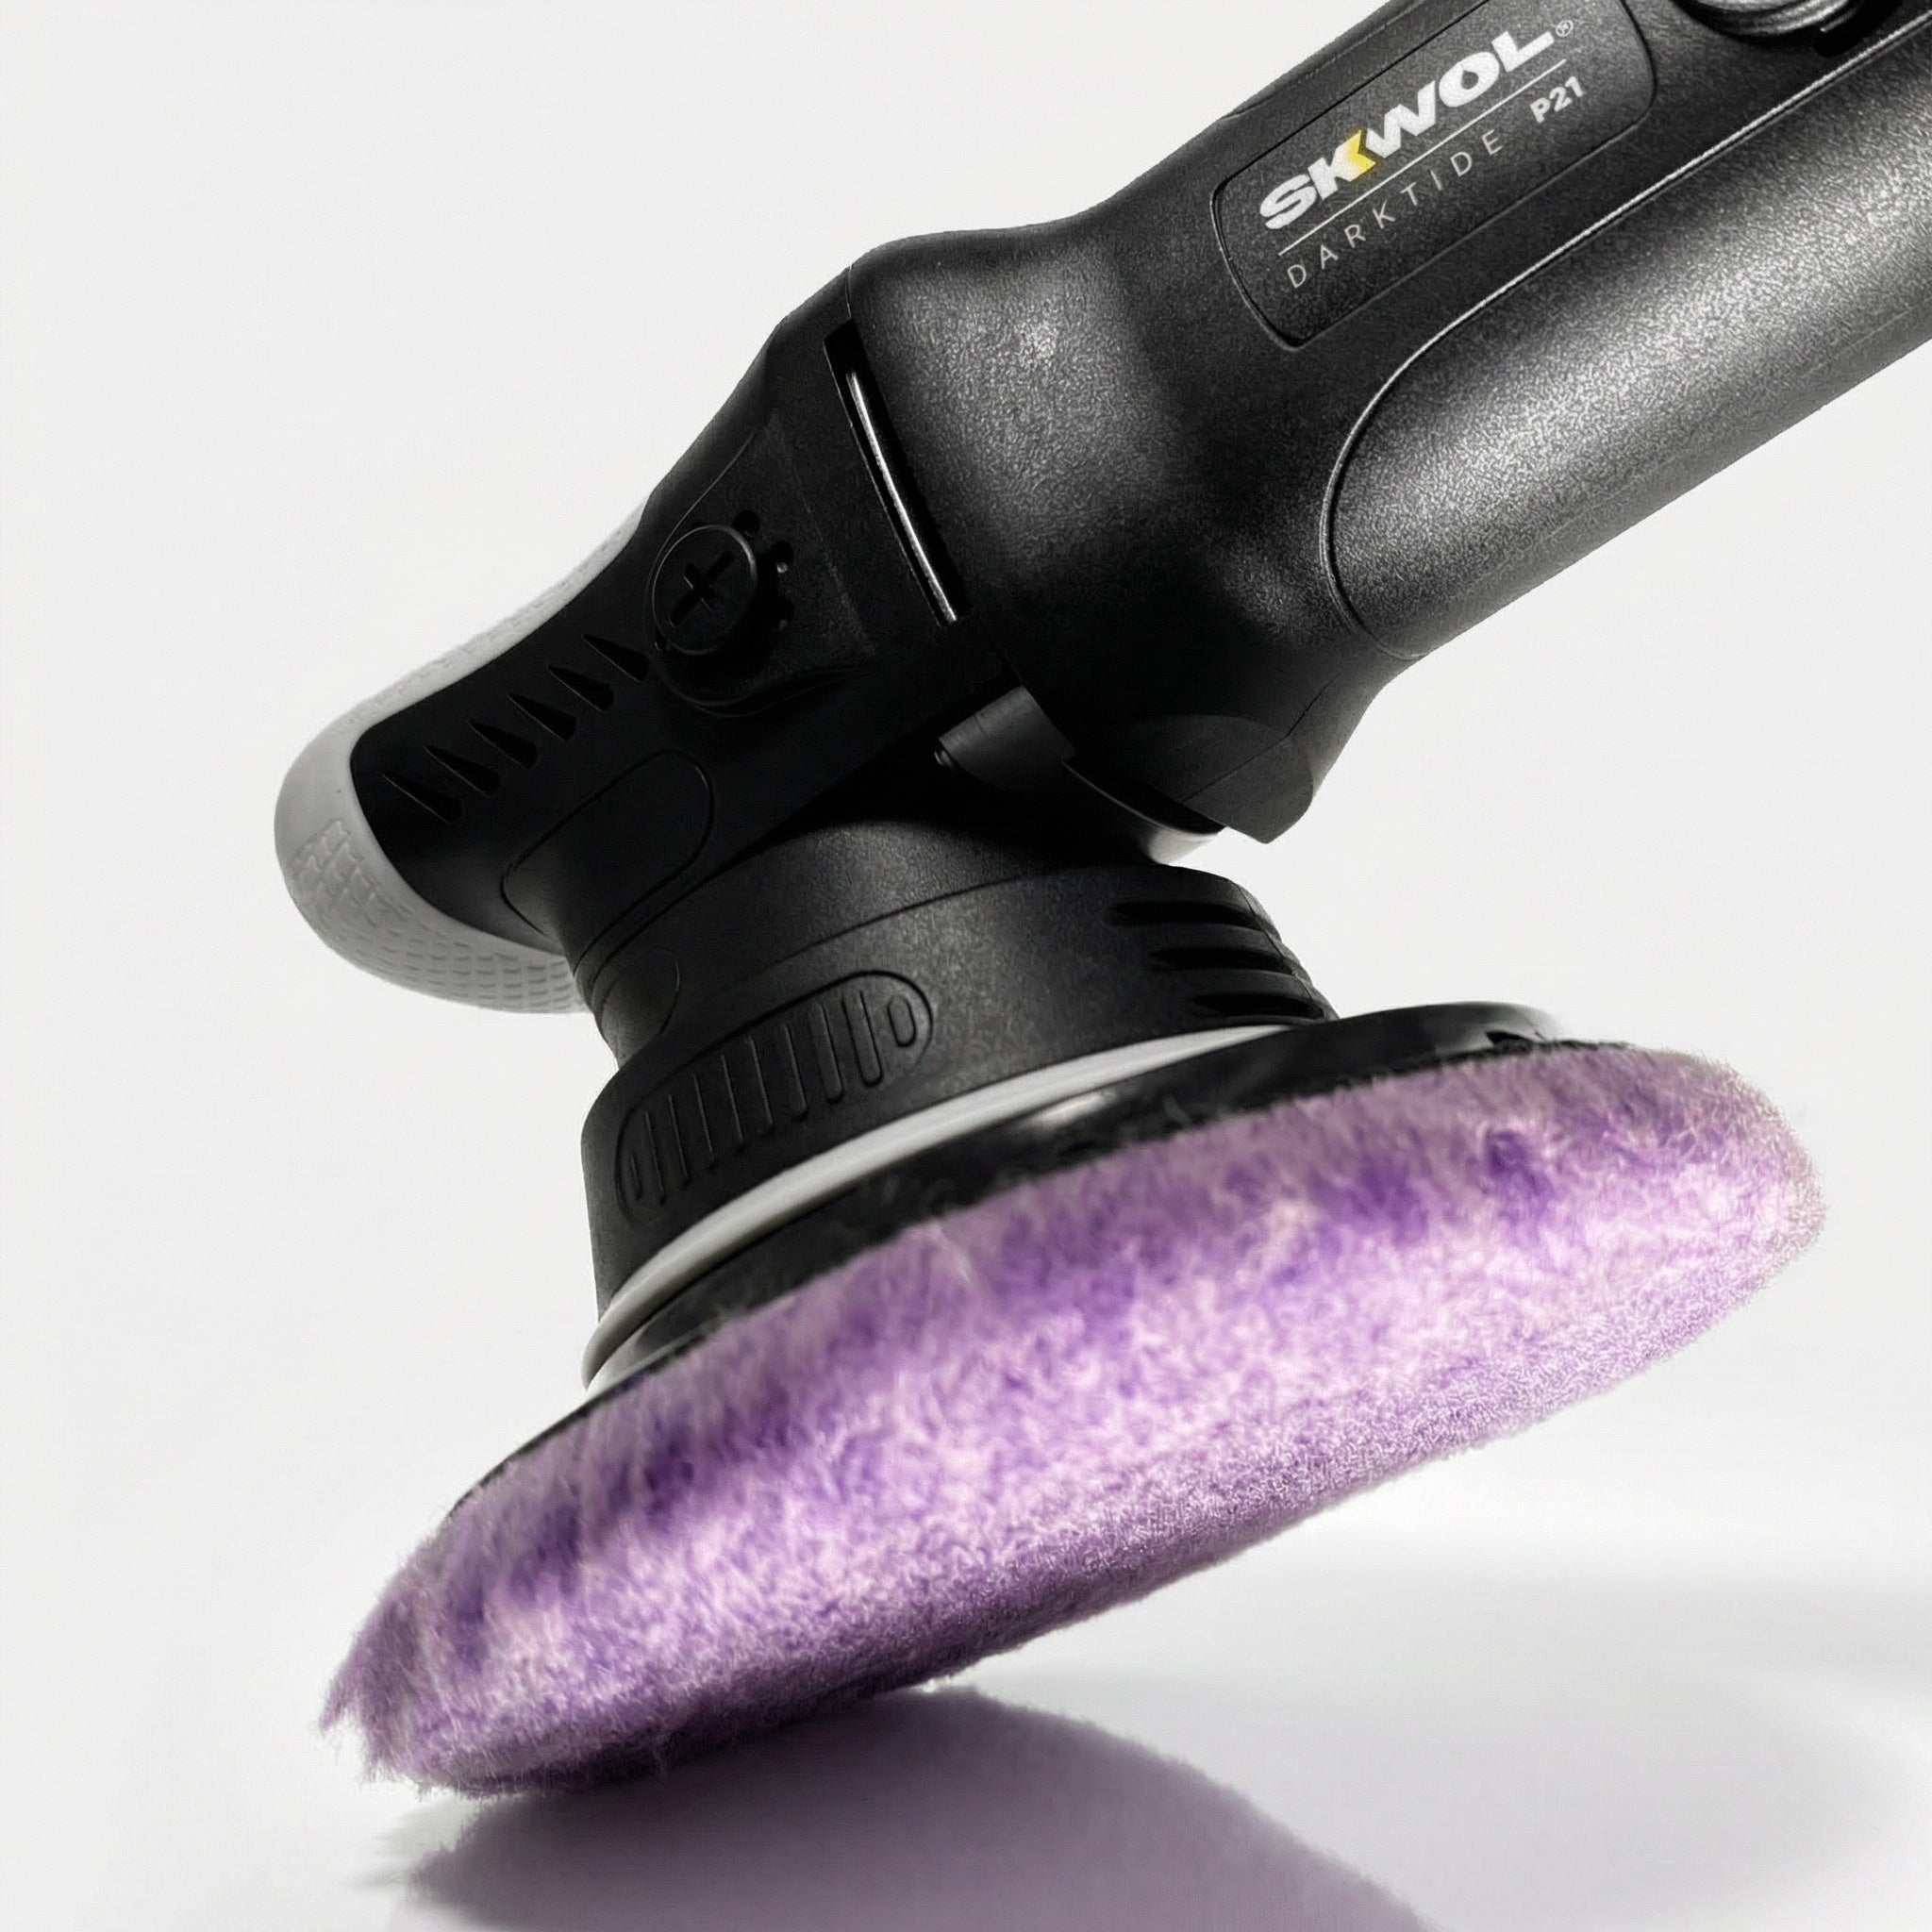
Heavy Cutting Pads
Use heavy-cut foam or wool pads for oxidation removal. Keep multiple clean pads available for larger projects. Pads should be cleaned or swapped every 5–6 linear feet to prevent oxidation residue and spent compound from reducing correction performance.
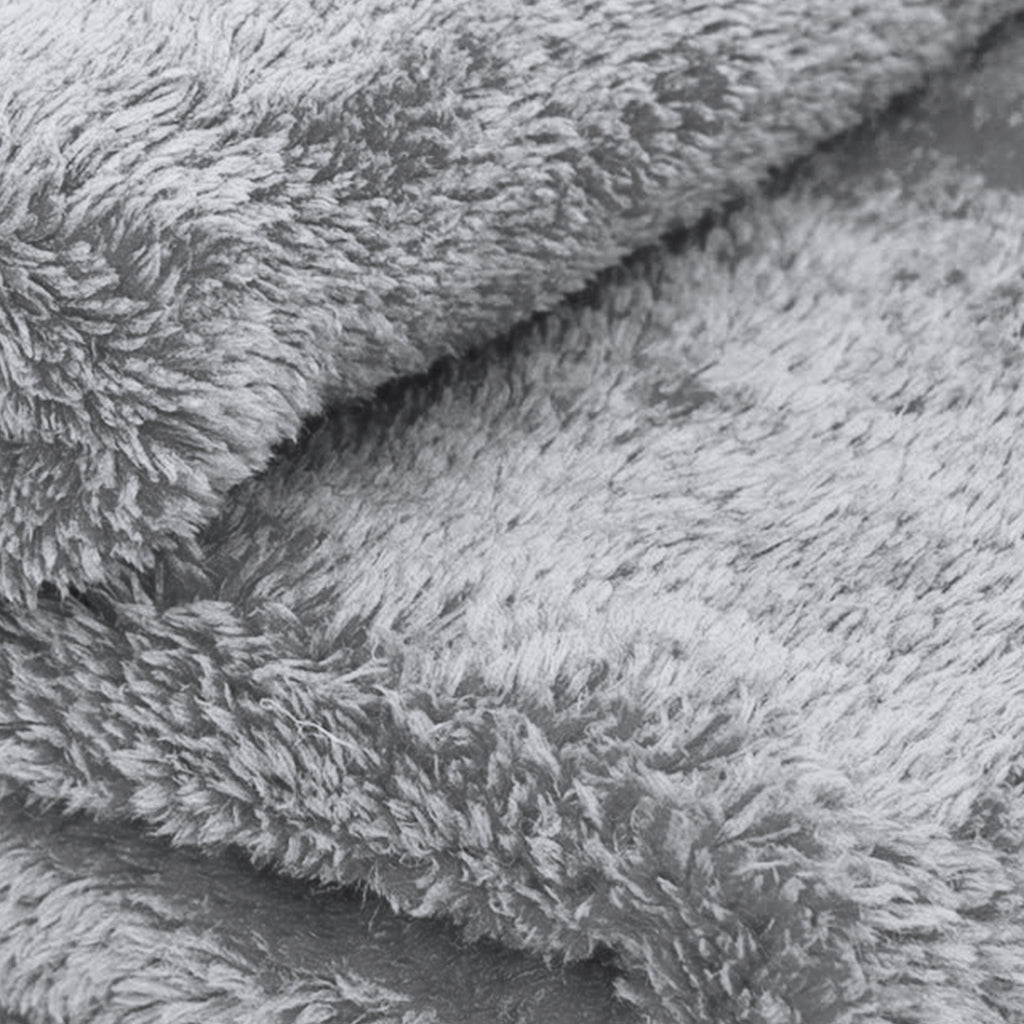
500+ GSM Microfiber Towels
Use 500 GSM microfiber towels to remove residual compound after each section pass. Lower-quality or thin microfiber towels may become saturated quickly and can make residue removal more difficult, reducing efficiency and finish quality.
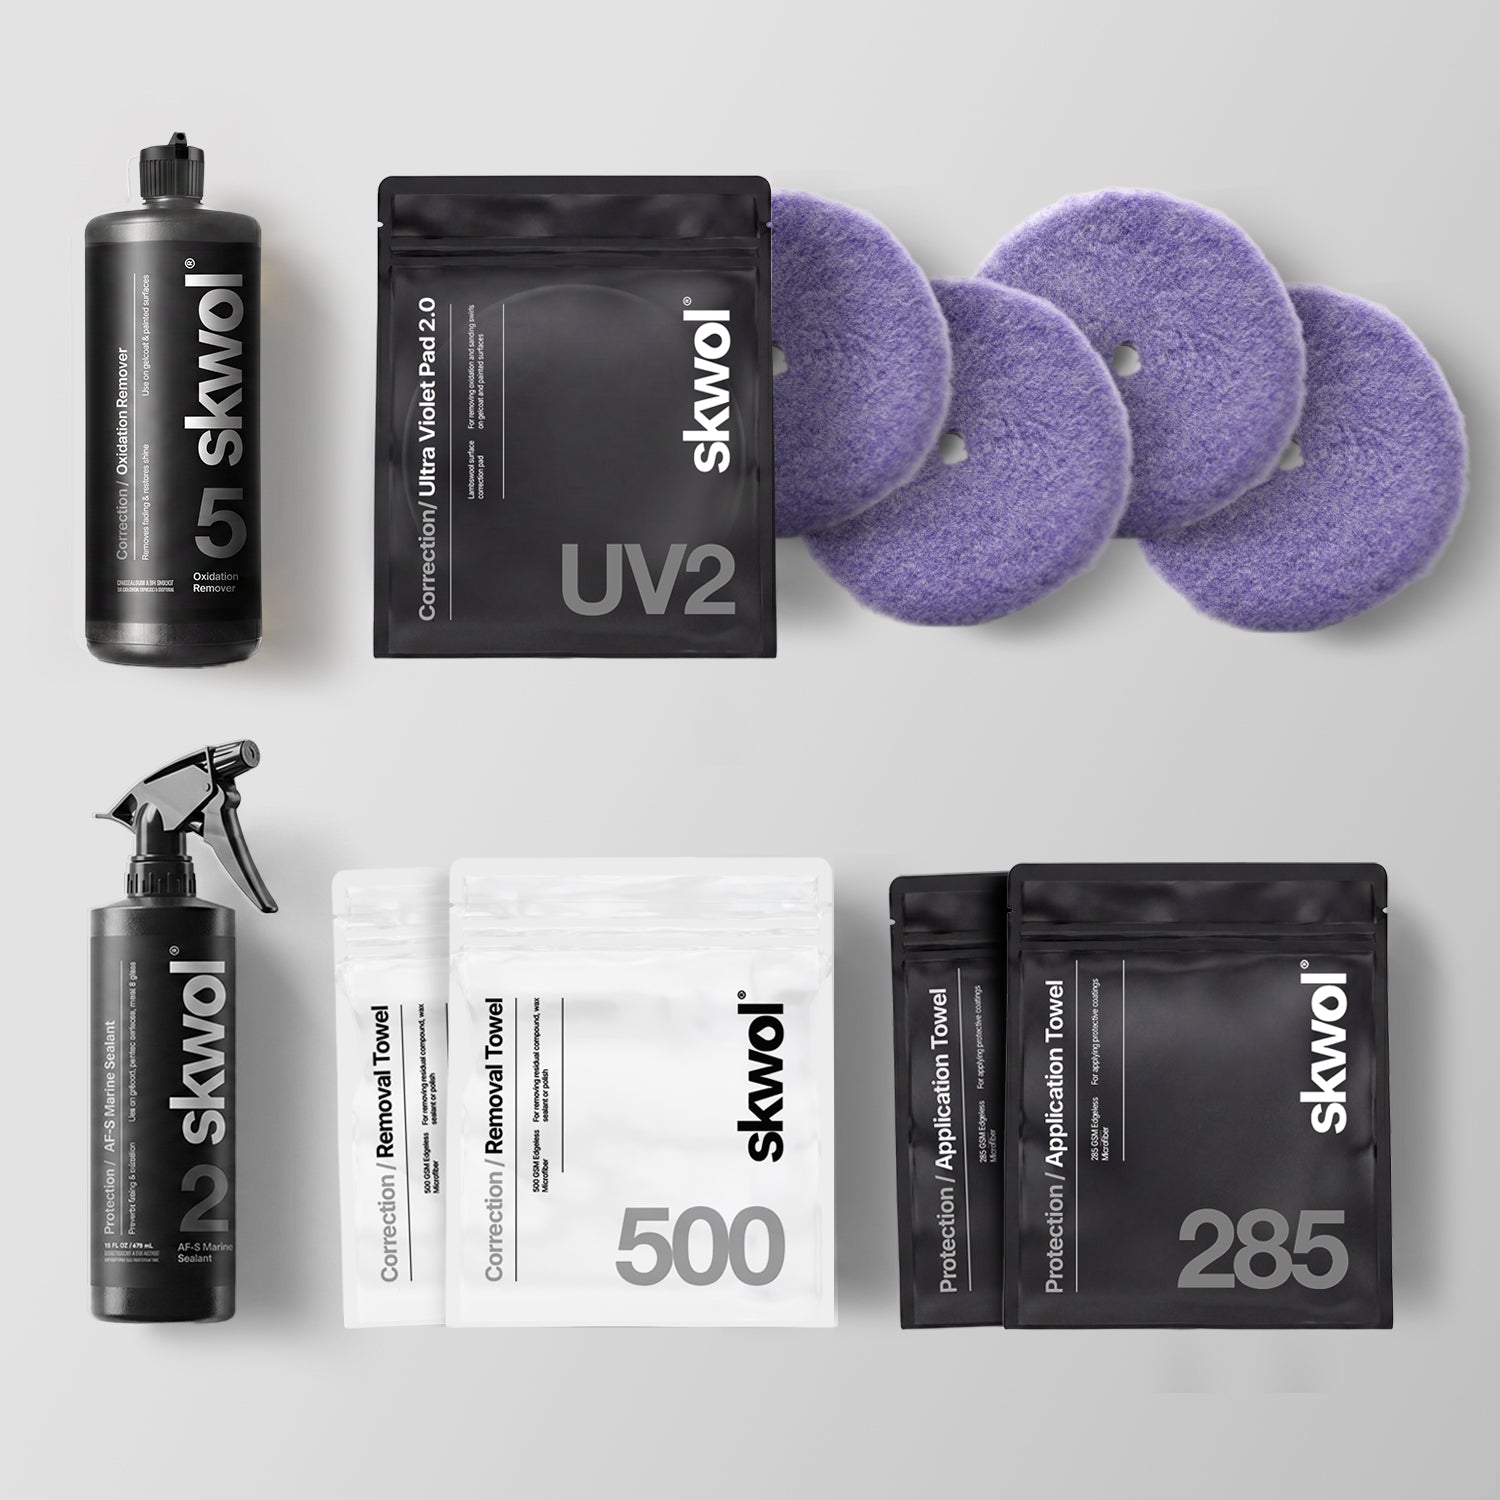
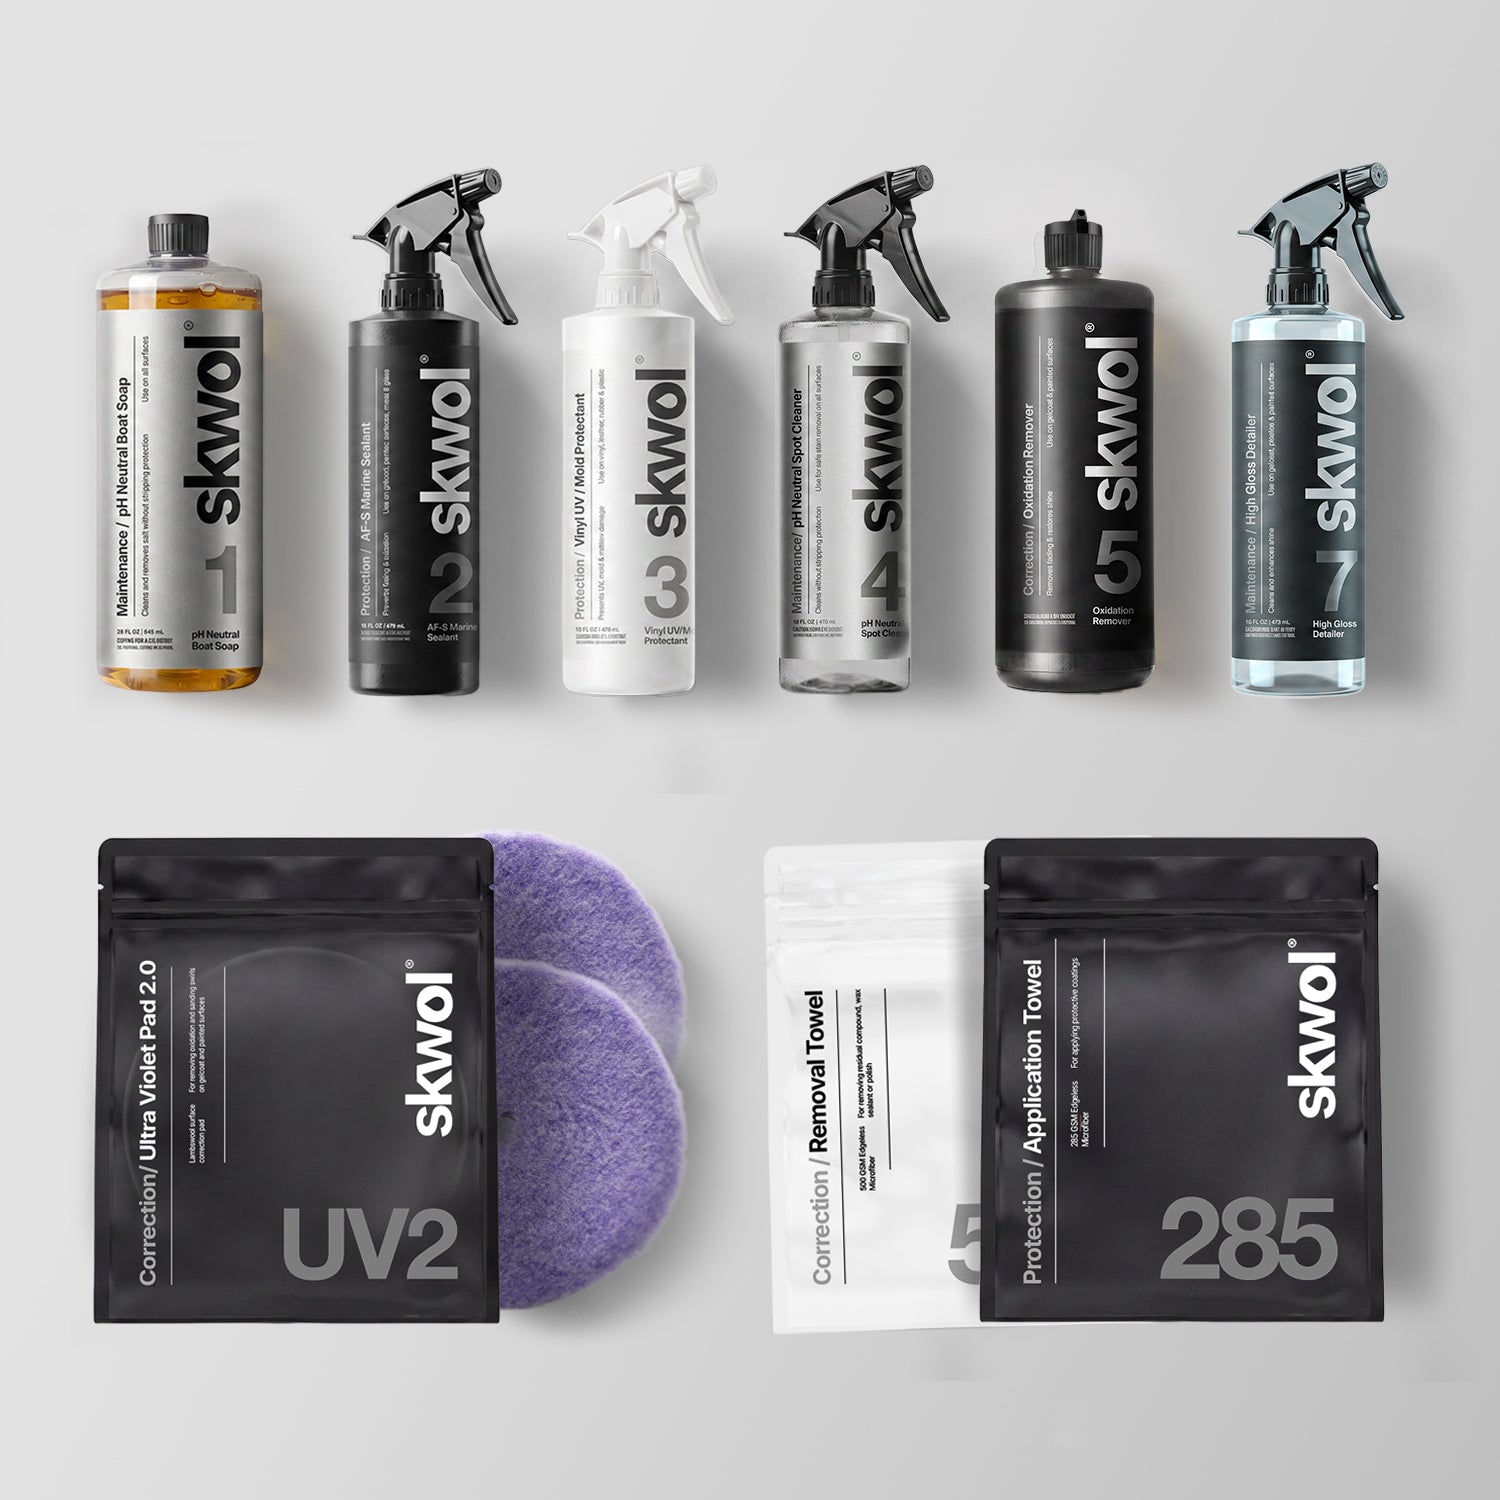
Recommended Kits
Get 10% off everything you need to correct & protect your boat
Creating a Blank Canvas
Surface Prep
Old waxes, oils, and residues can sit inside the pores of gelcoat. If you compound over them, you’re working through contamination. This step ensures maximum performance.

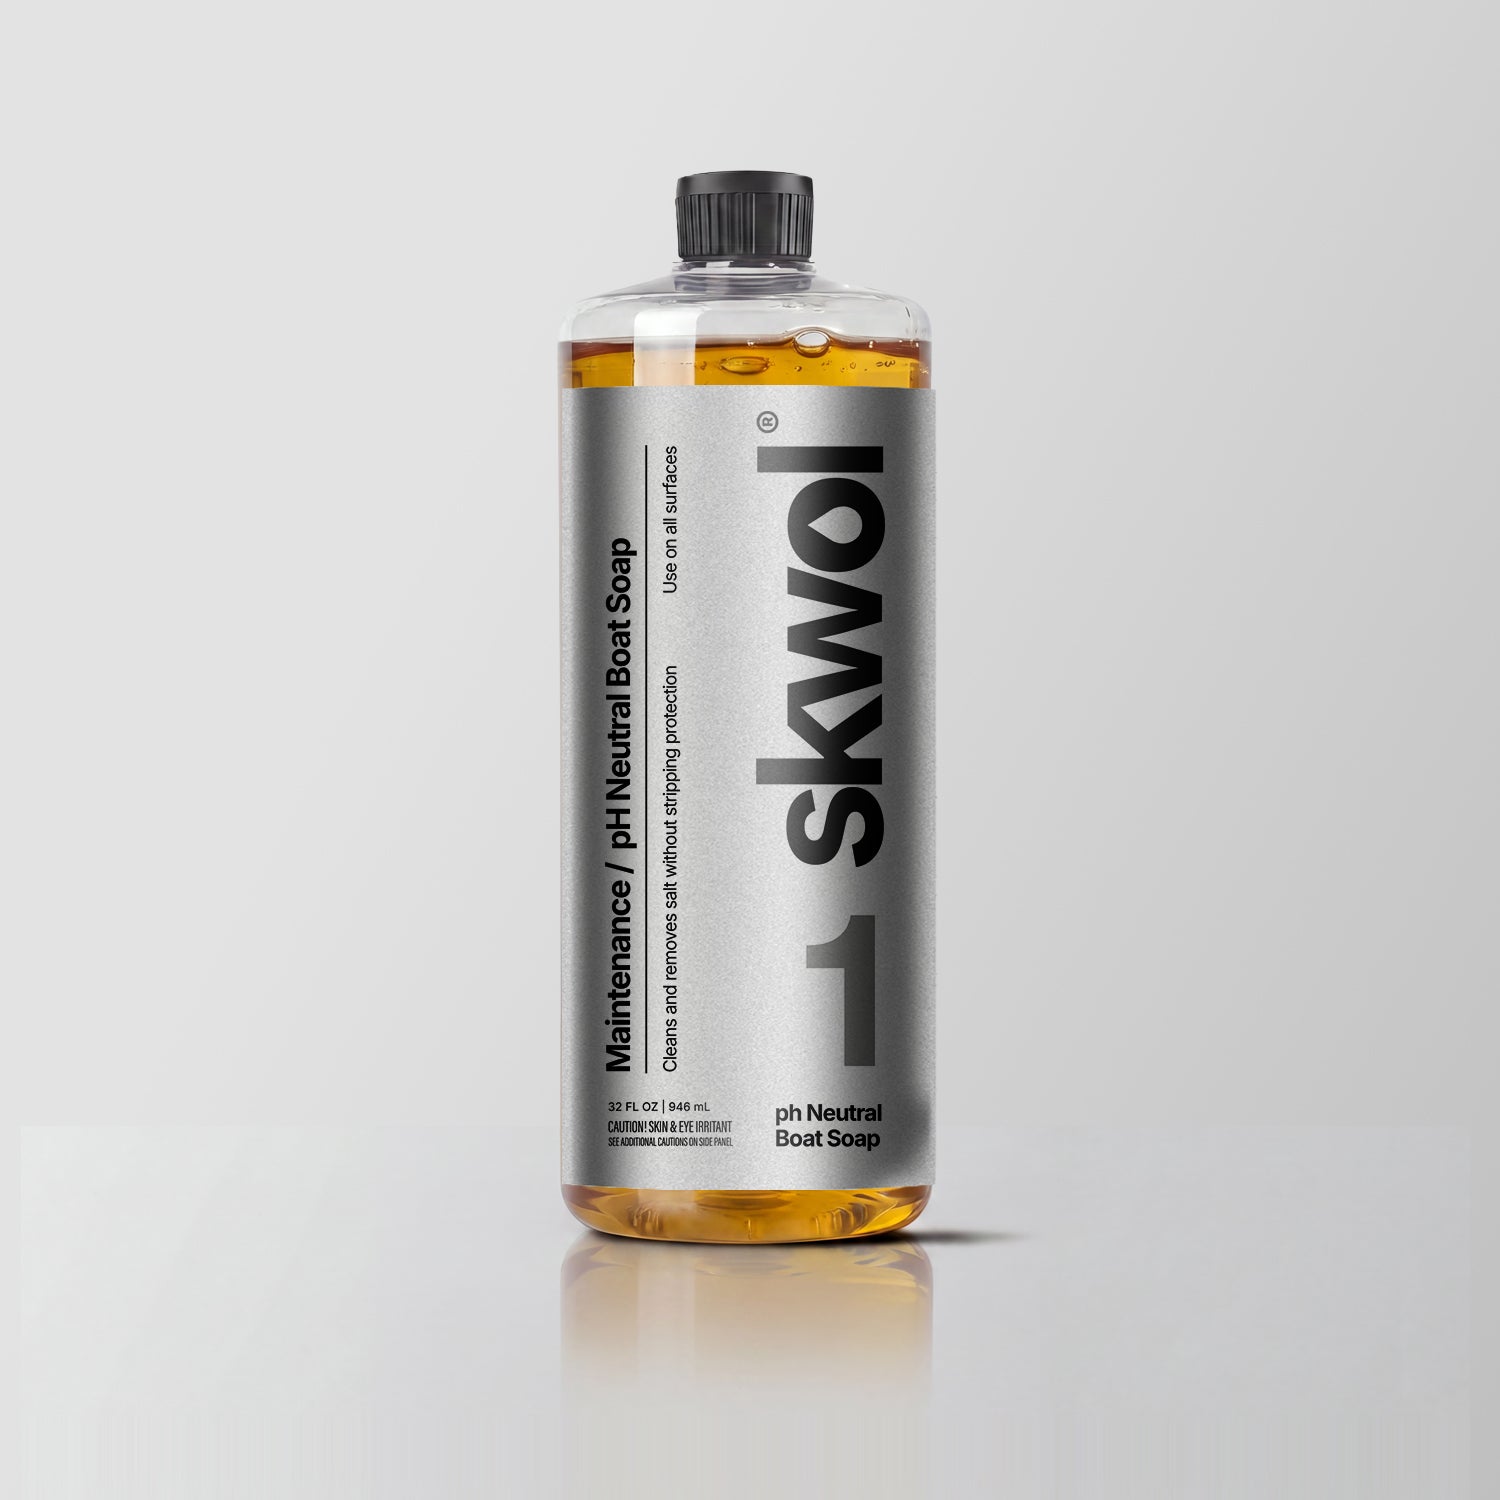
Wash
Use Dish Soap (or any soap with degreasers) to remove waxes, oils and contaminants from the pores of your gelcoat, leaving it ready for compounding.
You may use:
- Bucket & brush method
- Foam cannon & pressure washer
⚠ Non-pH neutral soaps should never be used for routine cleaning as they strip protective layers, leaving your boat vulnerable to the return of oxidation.
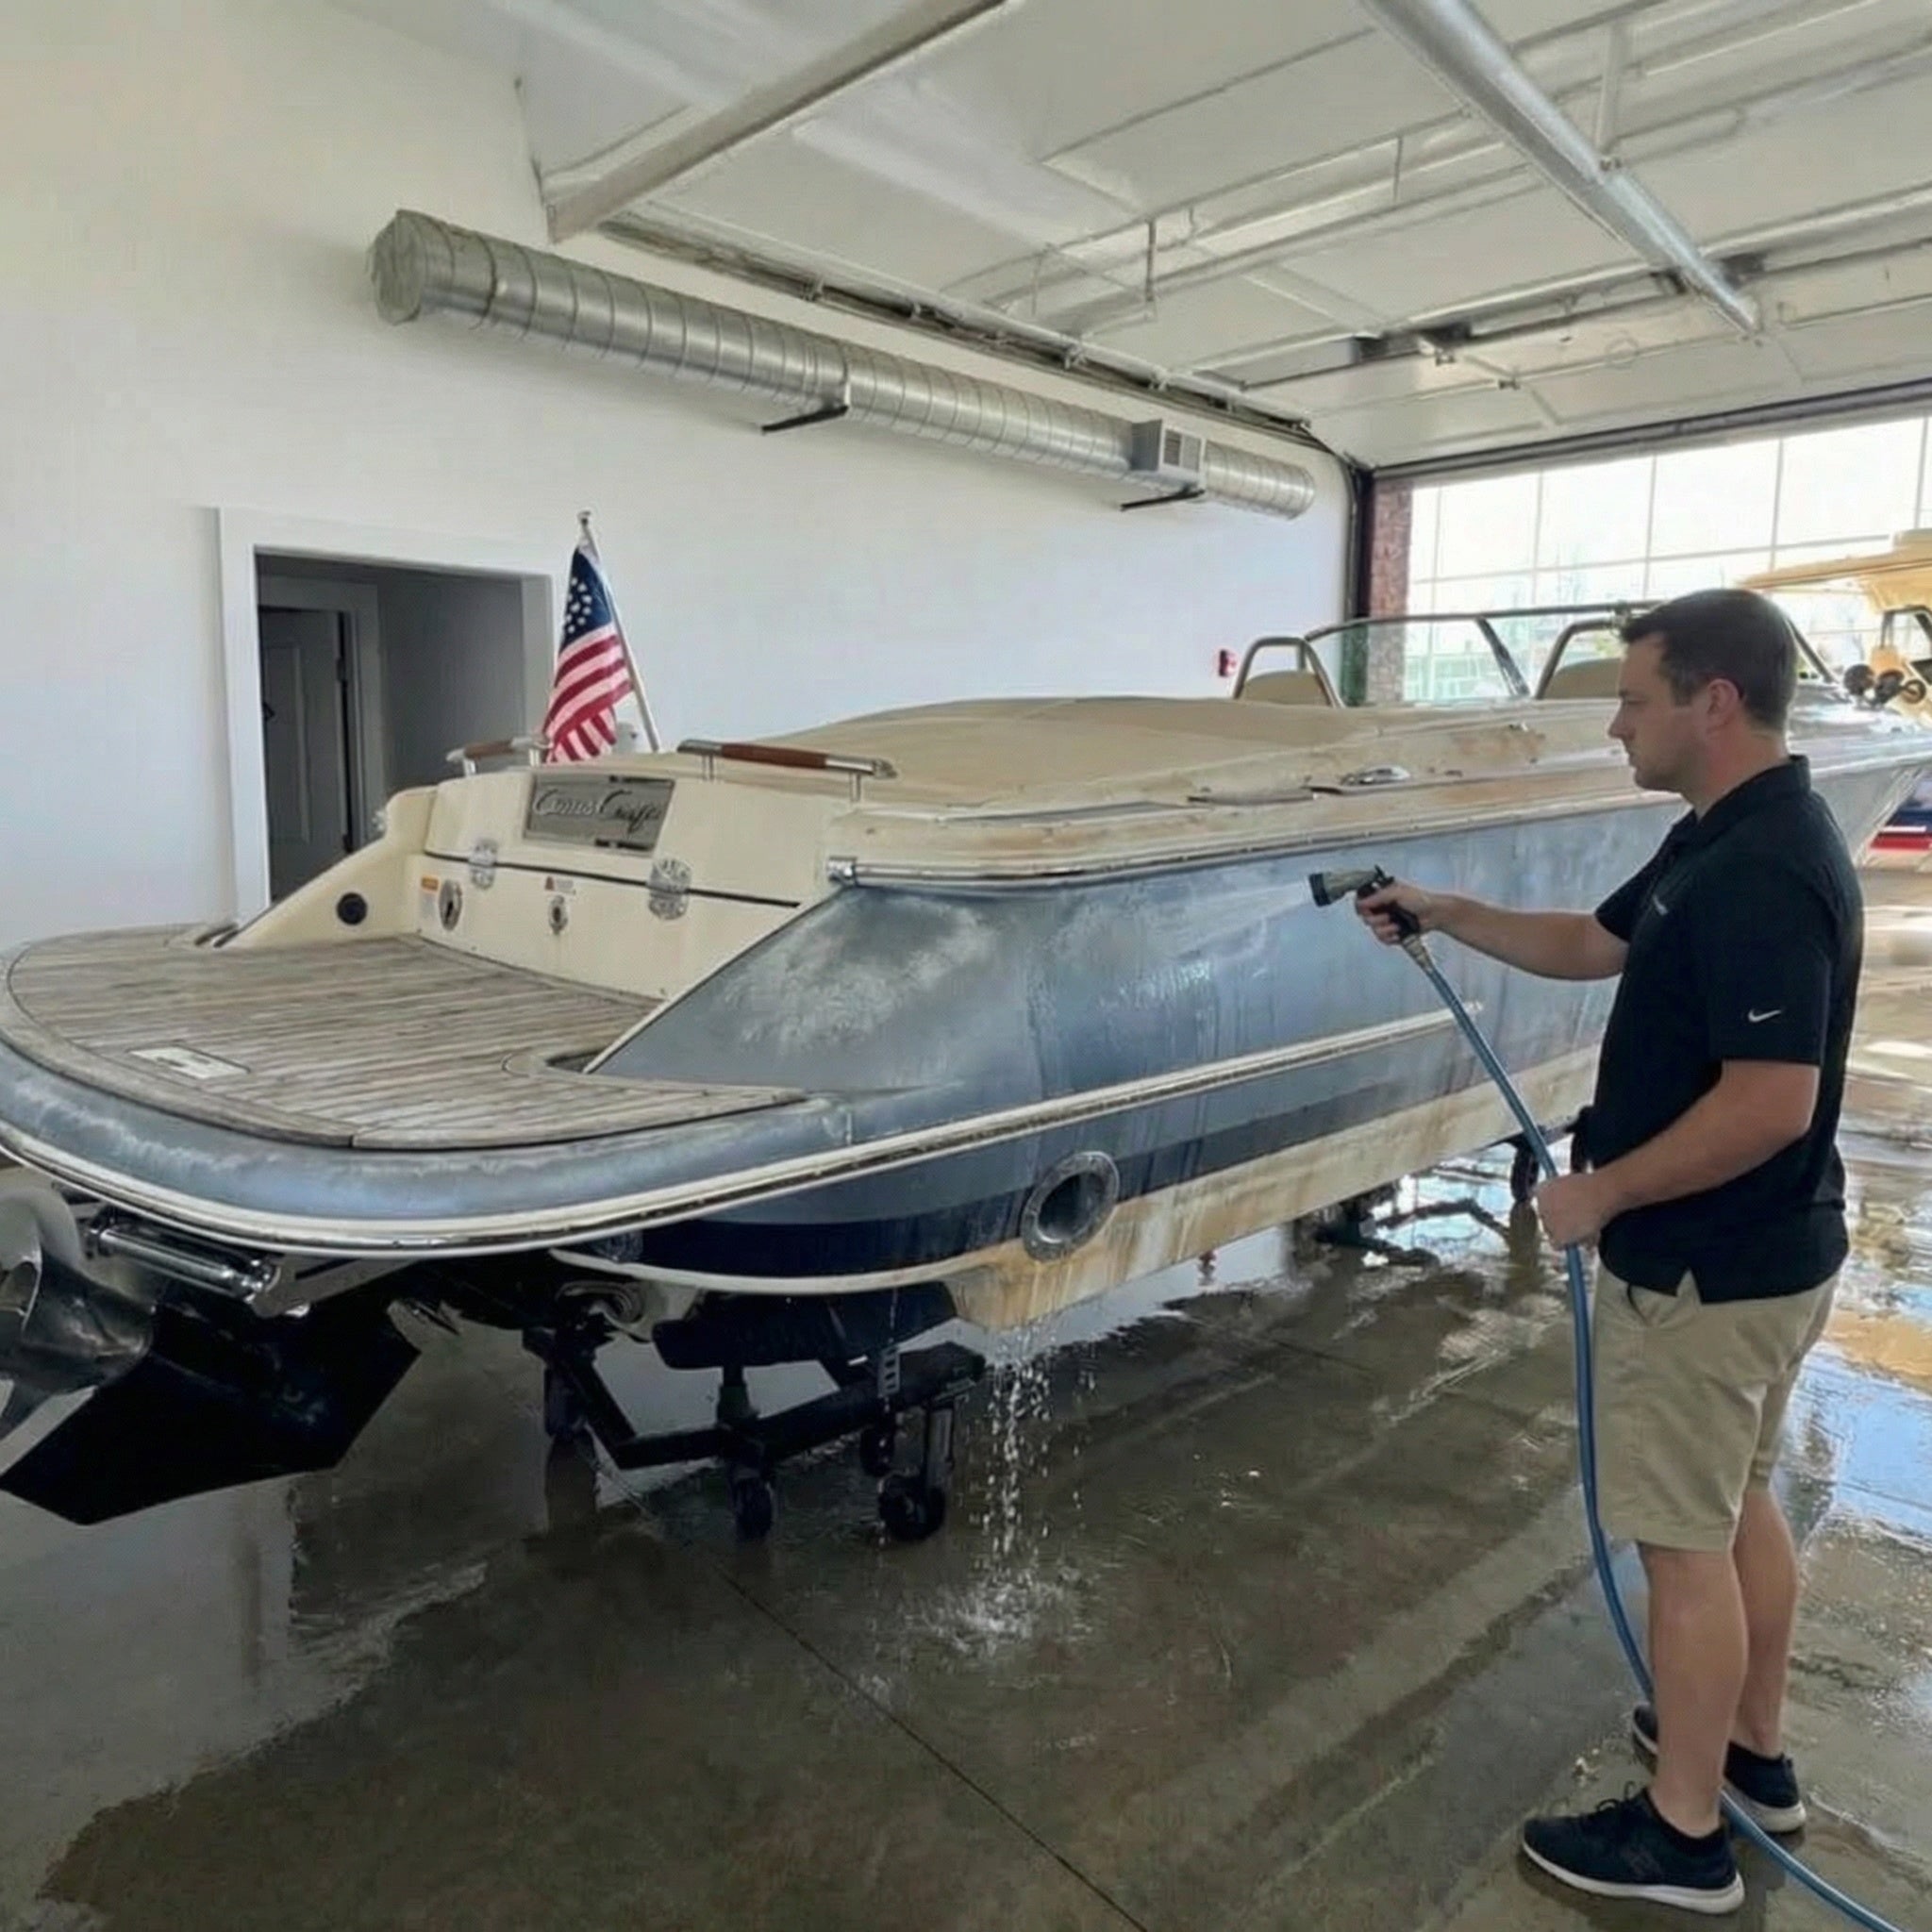
Rinse
Make sure the boat is free from any residual soap, dirt and contaminants to avoid micro-scratching.
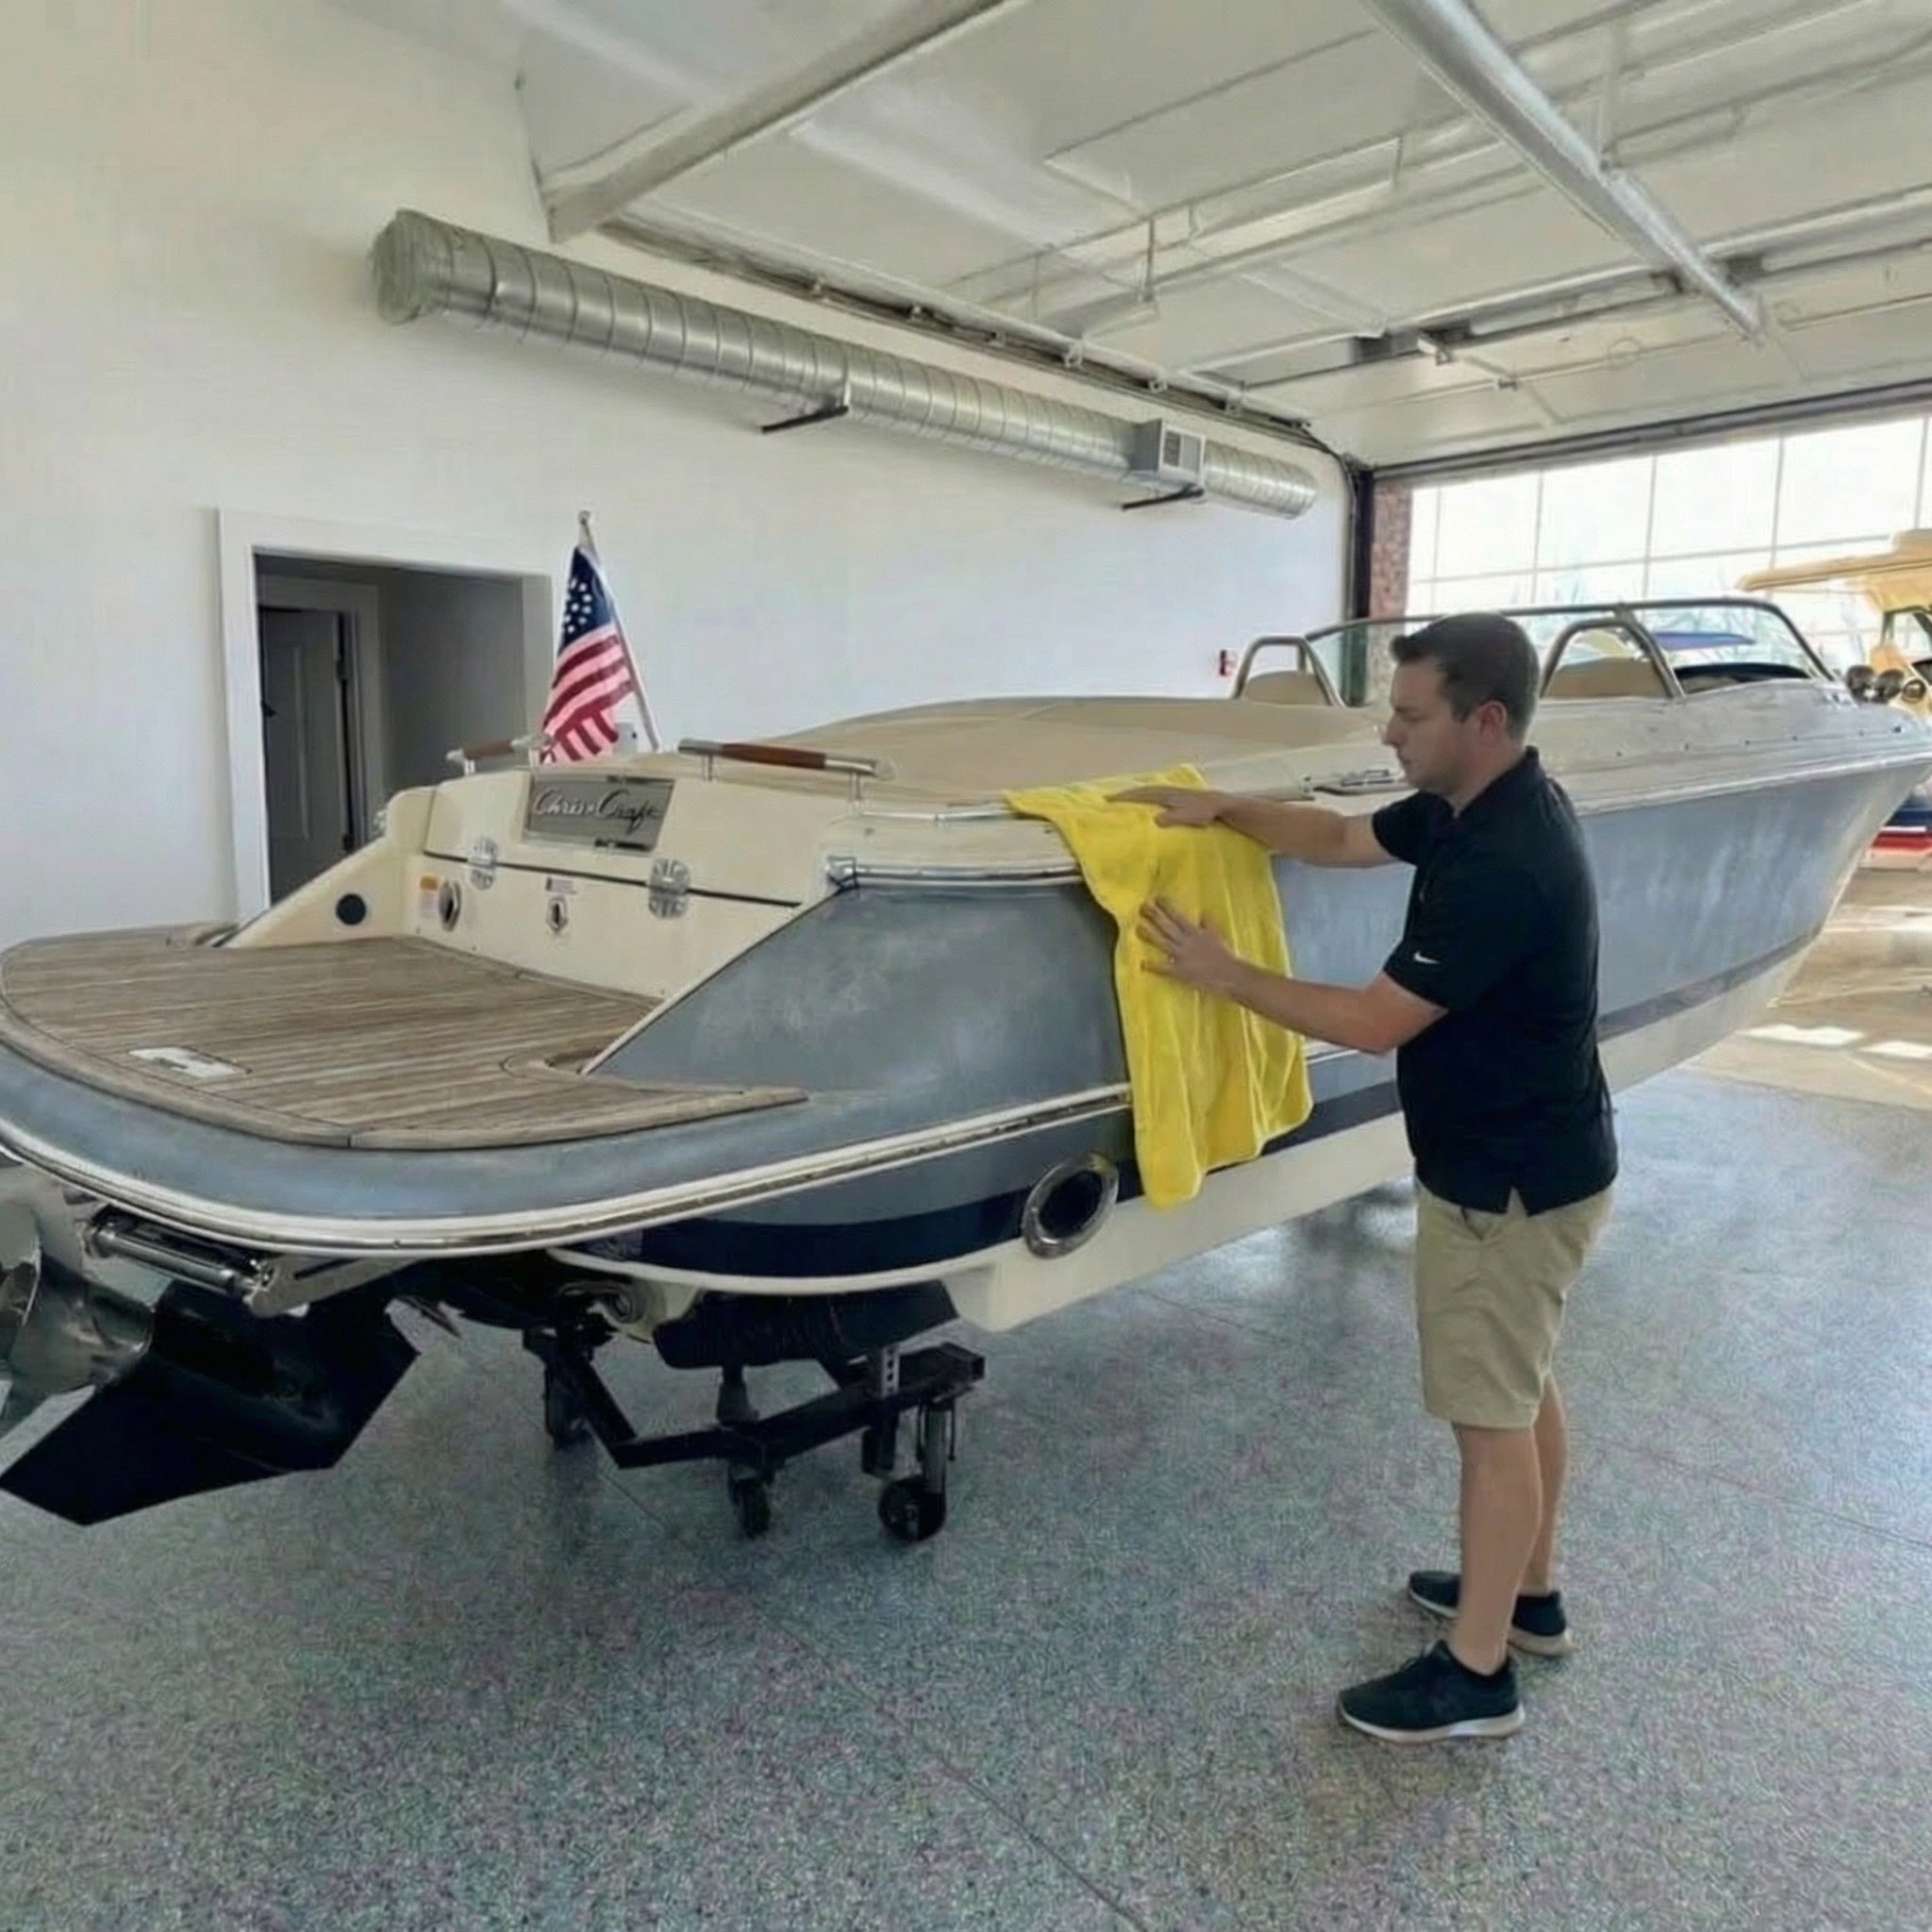
Dry
Make sure to completely dry the surface before compounding, as proper friction plays a role in the oxidation removal process.
Pro Tip (Optional)
After drying, spray a 50/50 mix of Isopropyl (Rubbing) Alcohol + Water. Wipe clean with a microfiber cloth. This ensures, absolutely no leftover oils, surfactants or residues and allows for pure surface contact for compounding.
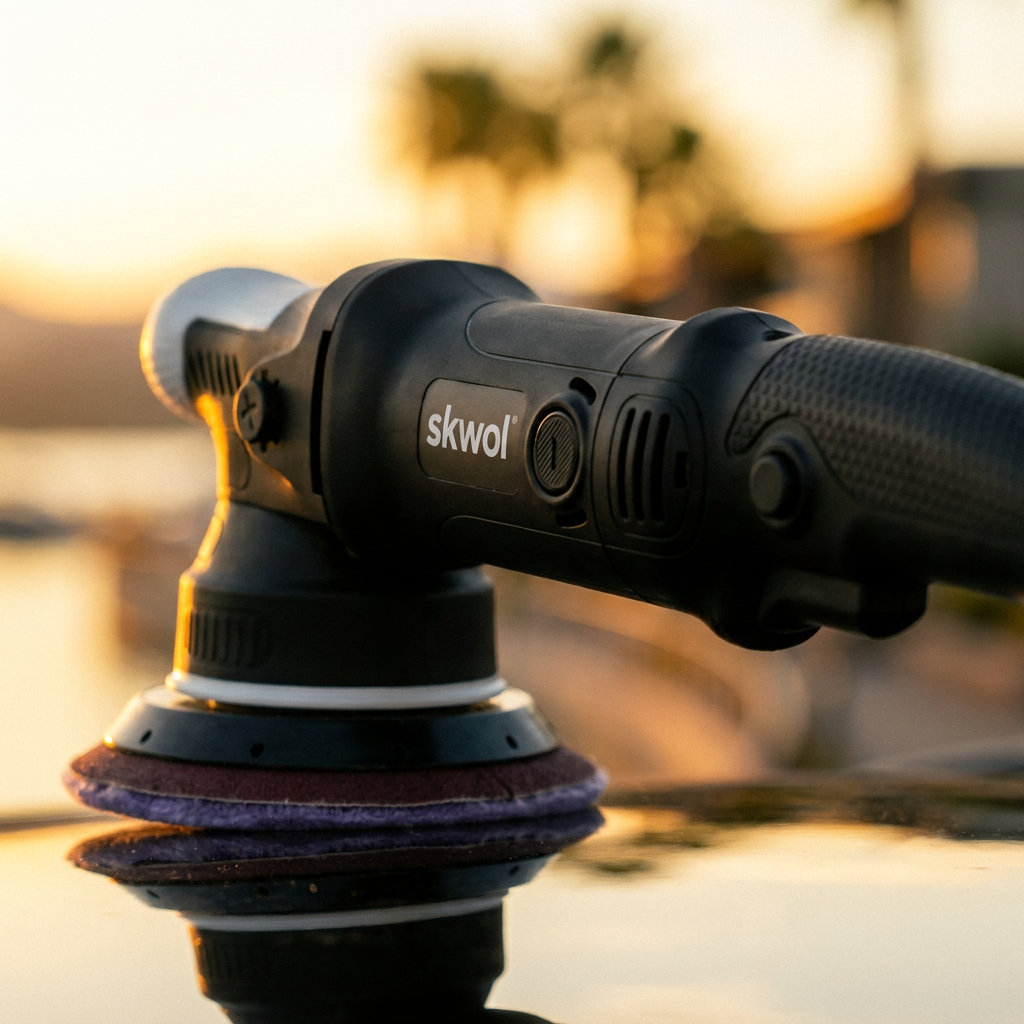
Compounding & Polishing
Correction
Now that your boat is clean and dry, you're ready to compound. Our one step diminishing abrasive system is designed to cut down on time and complexity, allowing you to remove oxidation and polish your boat to a high shine in a single step, all without "masking" the problem with the short-lived shine other compounds are notorious for.
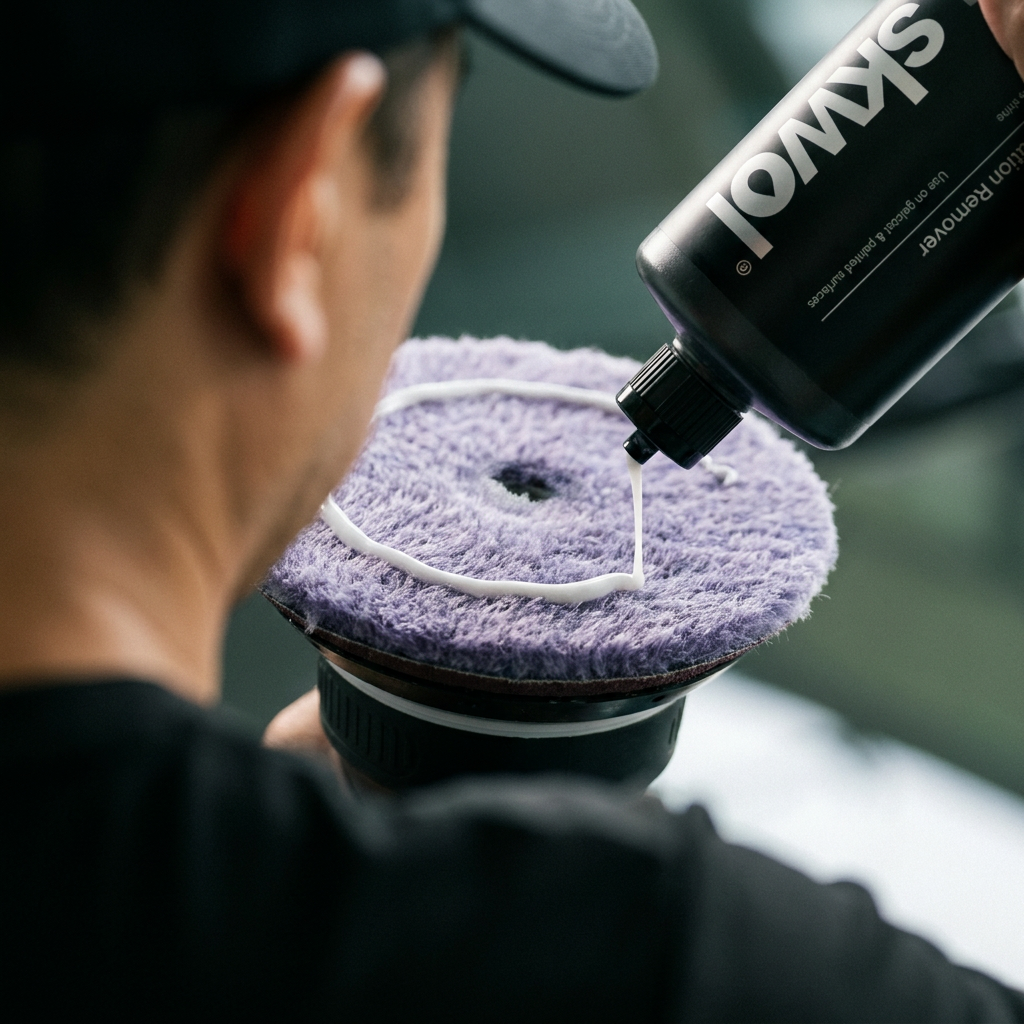
Add compound to pad
• Attach pad to backing plate.
• Add a light ring of compound around the pad. A little goes a long way. Using too much product can cause it to dry on the surface.
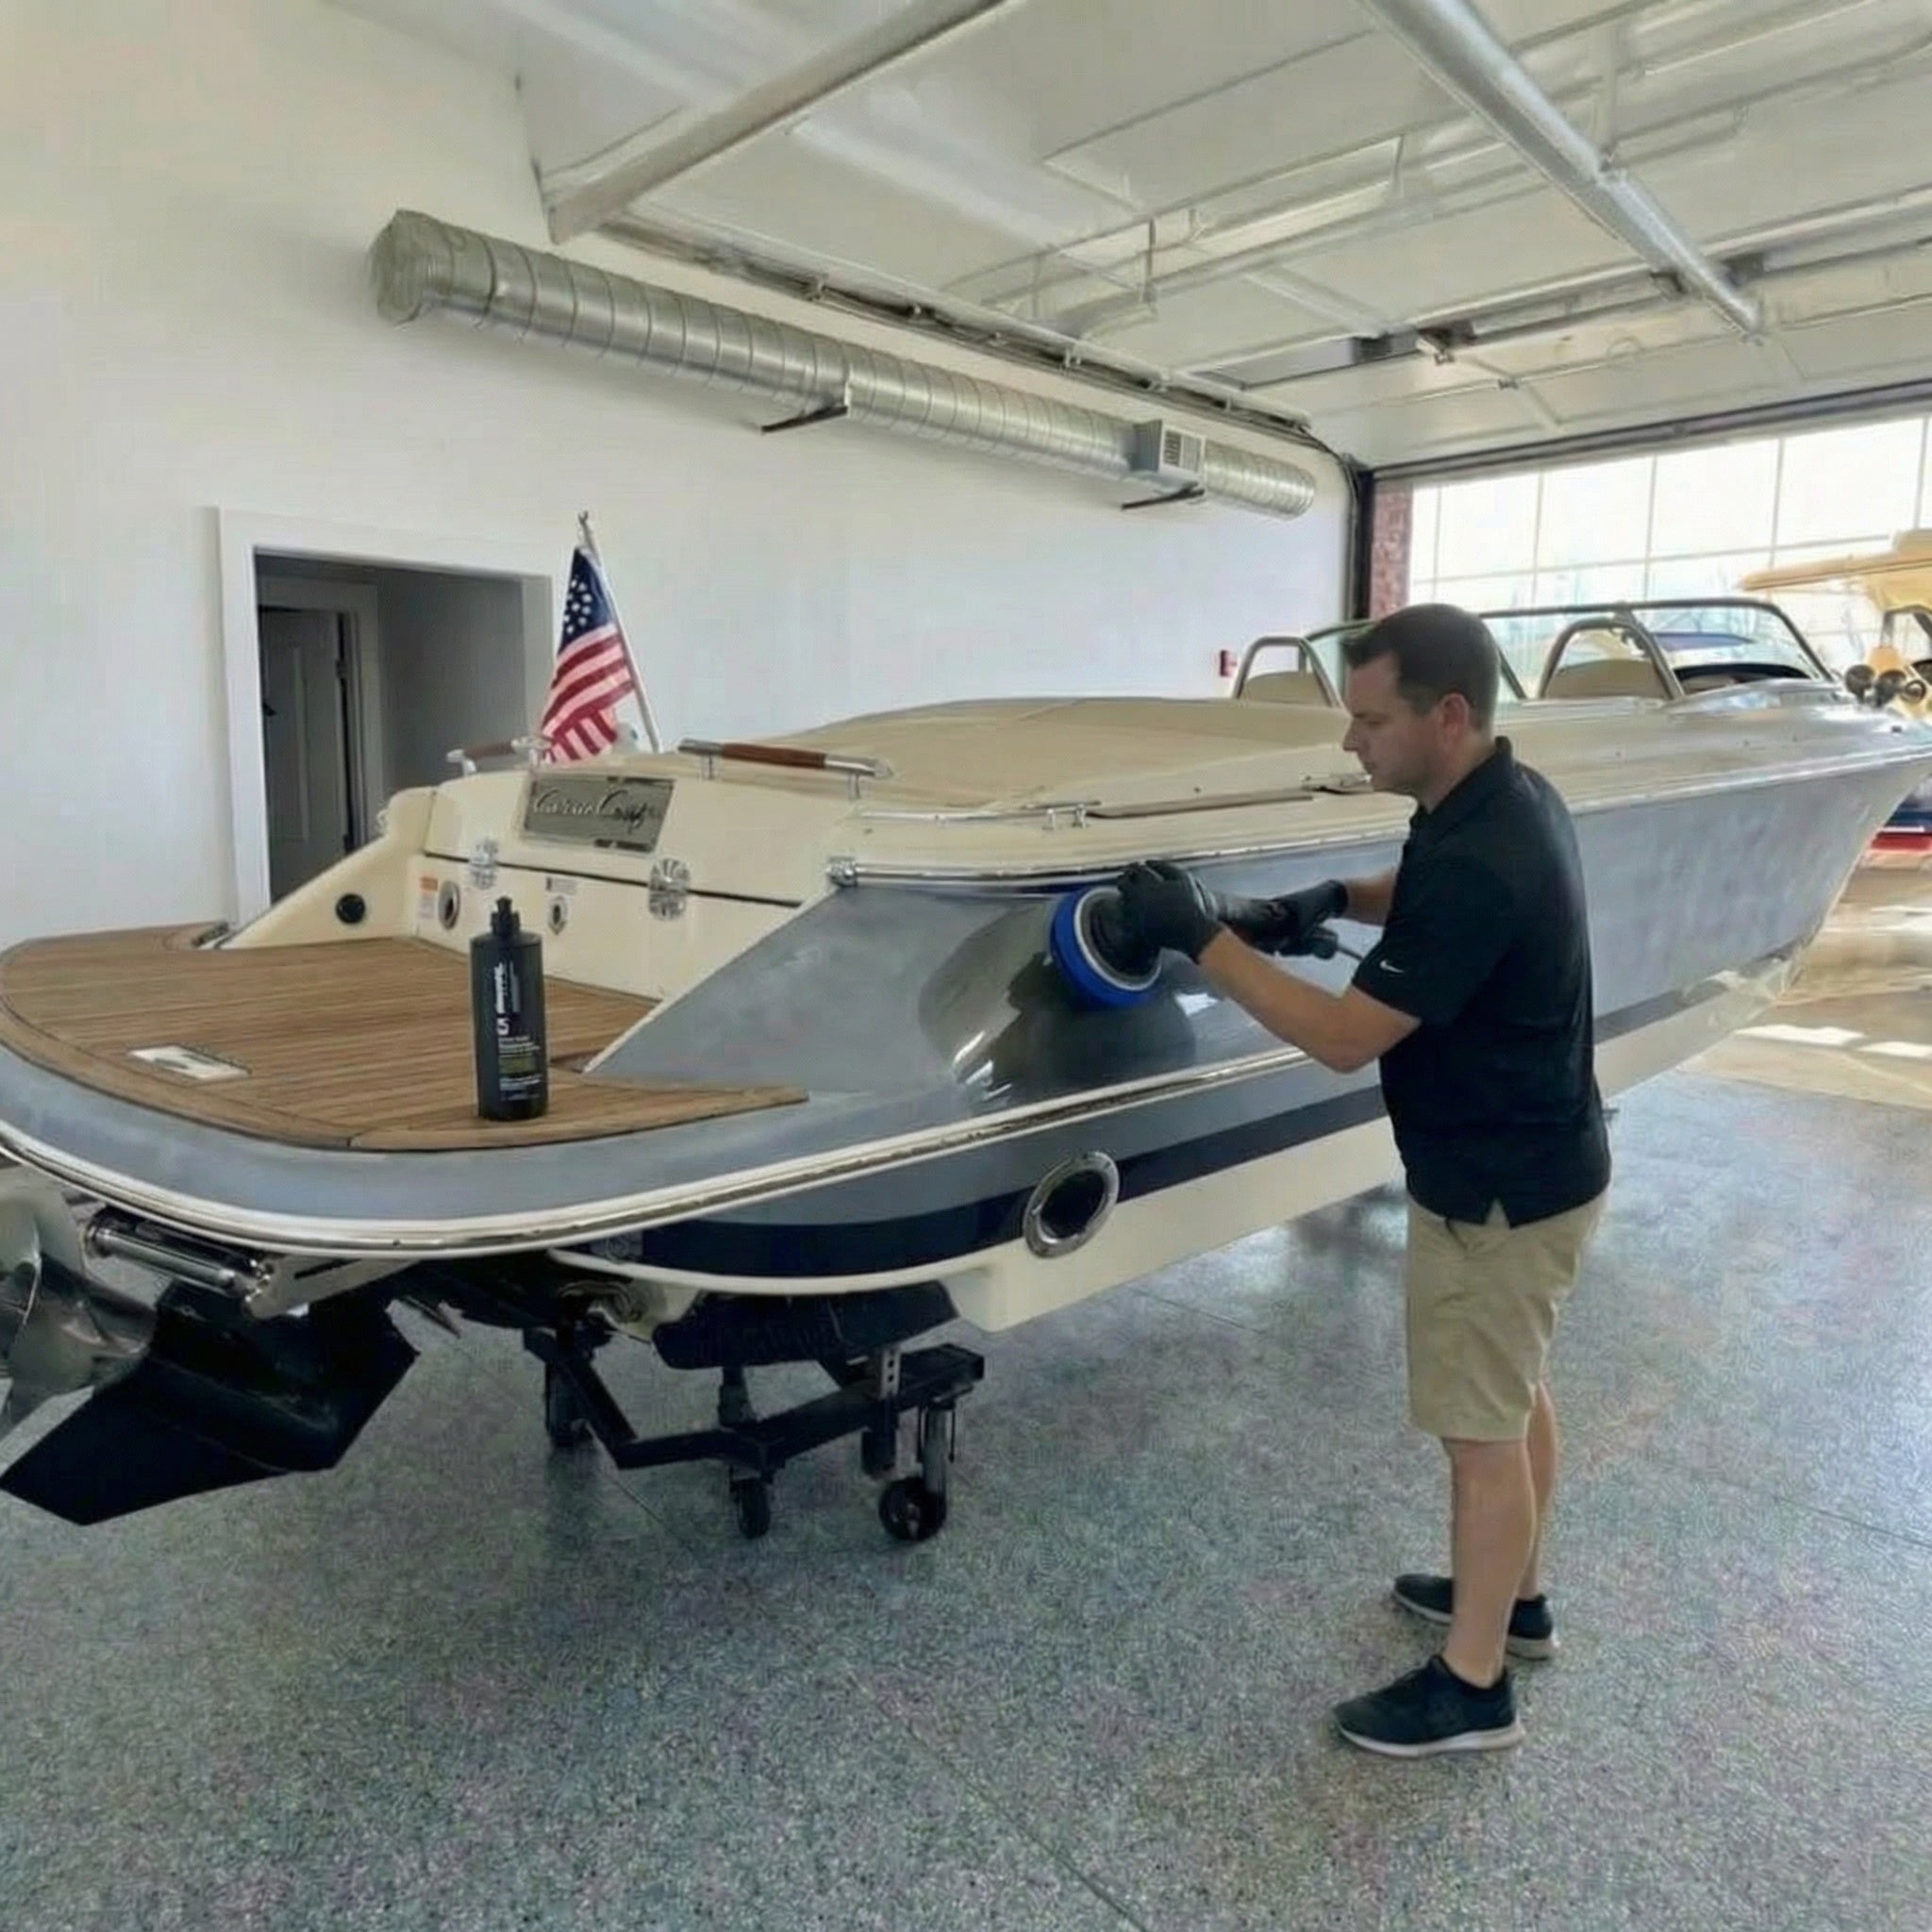
Apply the product
With the polisher still in the off position, dab the pad with product on it around a 2' x 2' working section.
Set your Dual Action Polisher to 4500-4800OPM (or a setting of 4/6 on most machines) Check your tool to confirm. If you are working with a Rotary Polisher, keep RPM lower around 1200-1800.
With your pad flat against surface, using light to minimal pressure (no harsh angling needed) work side to side, then top to bottom in a crosshatch fashion, covering the entire 2'x2' working area, with slow, controlled passes. As you work, the compound will begin to diminish, but all will not disappear. This is normal.
NOTE: Improper machine use, excessive pressure, or incorrect pad selection can cause surface damage.
Wipe residual compound
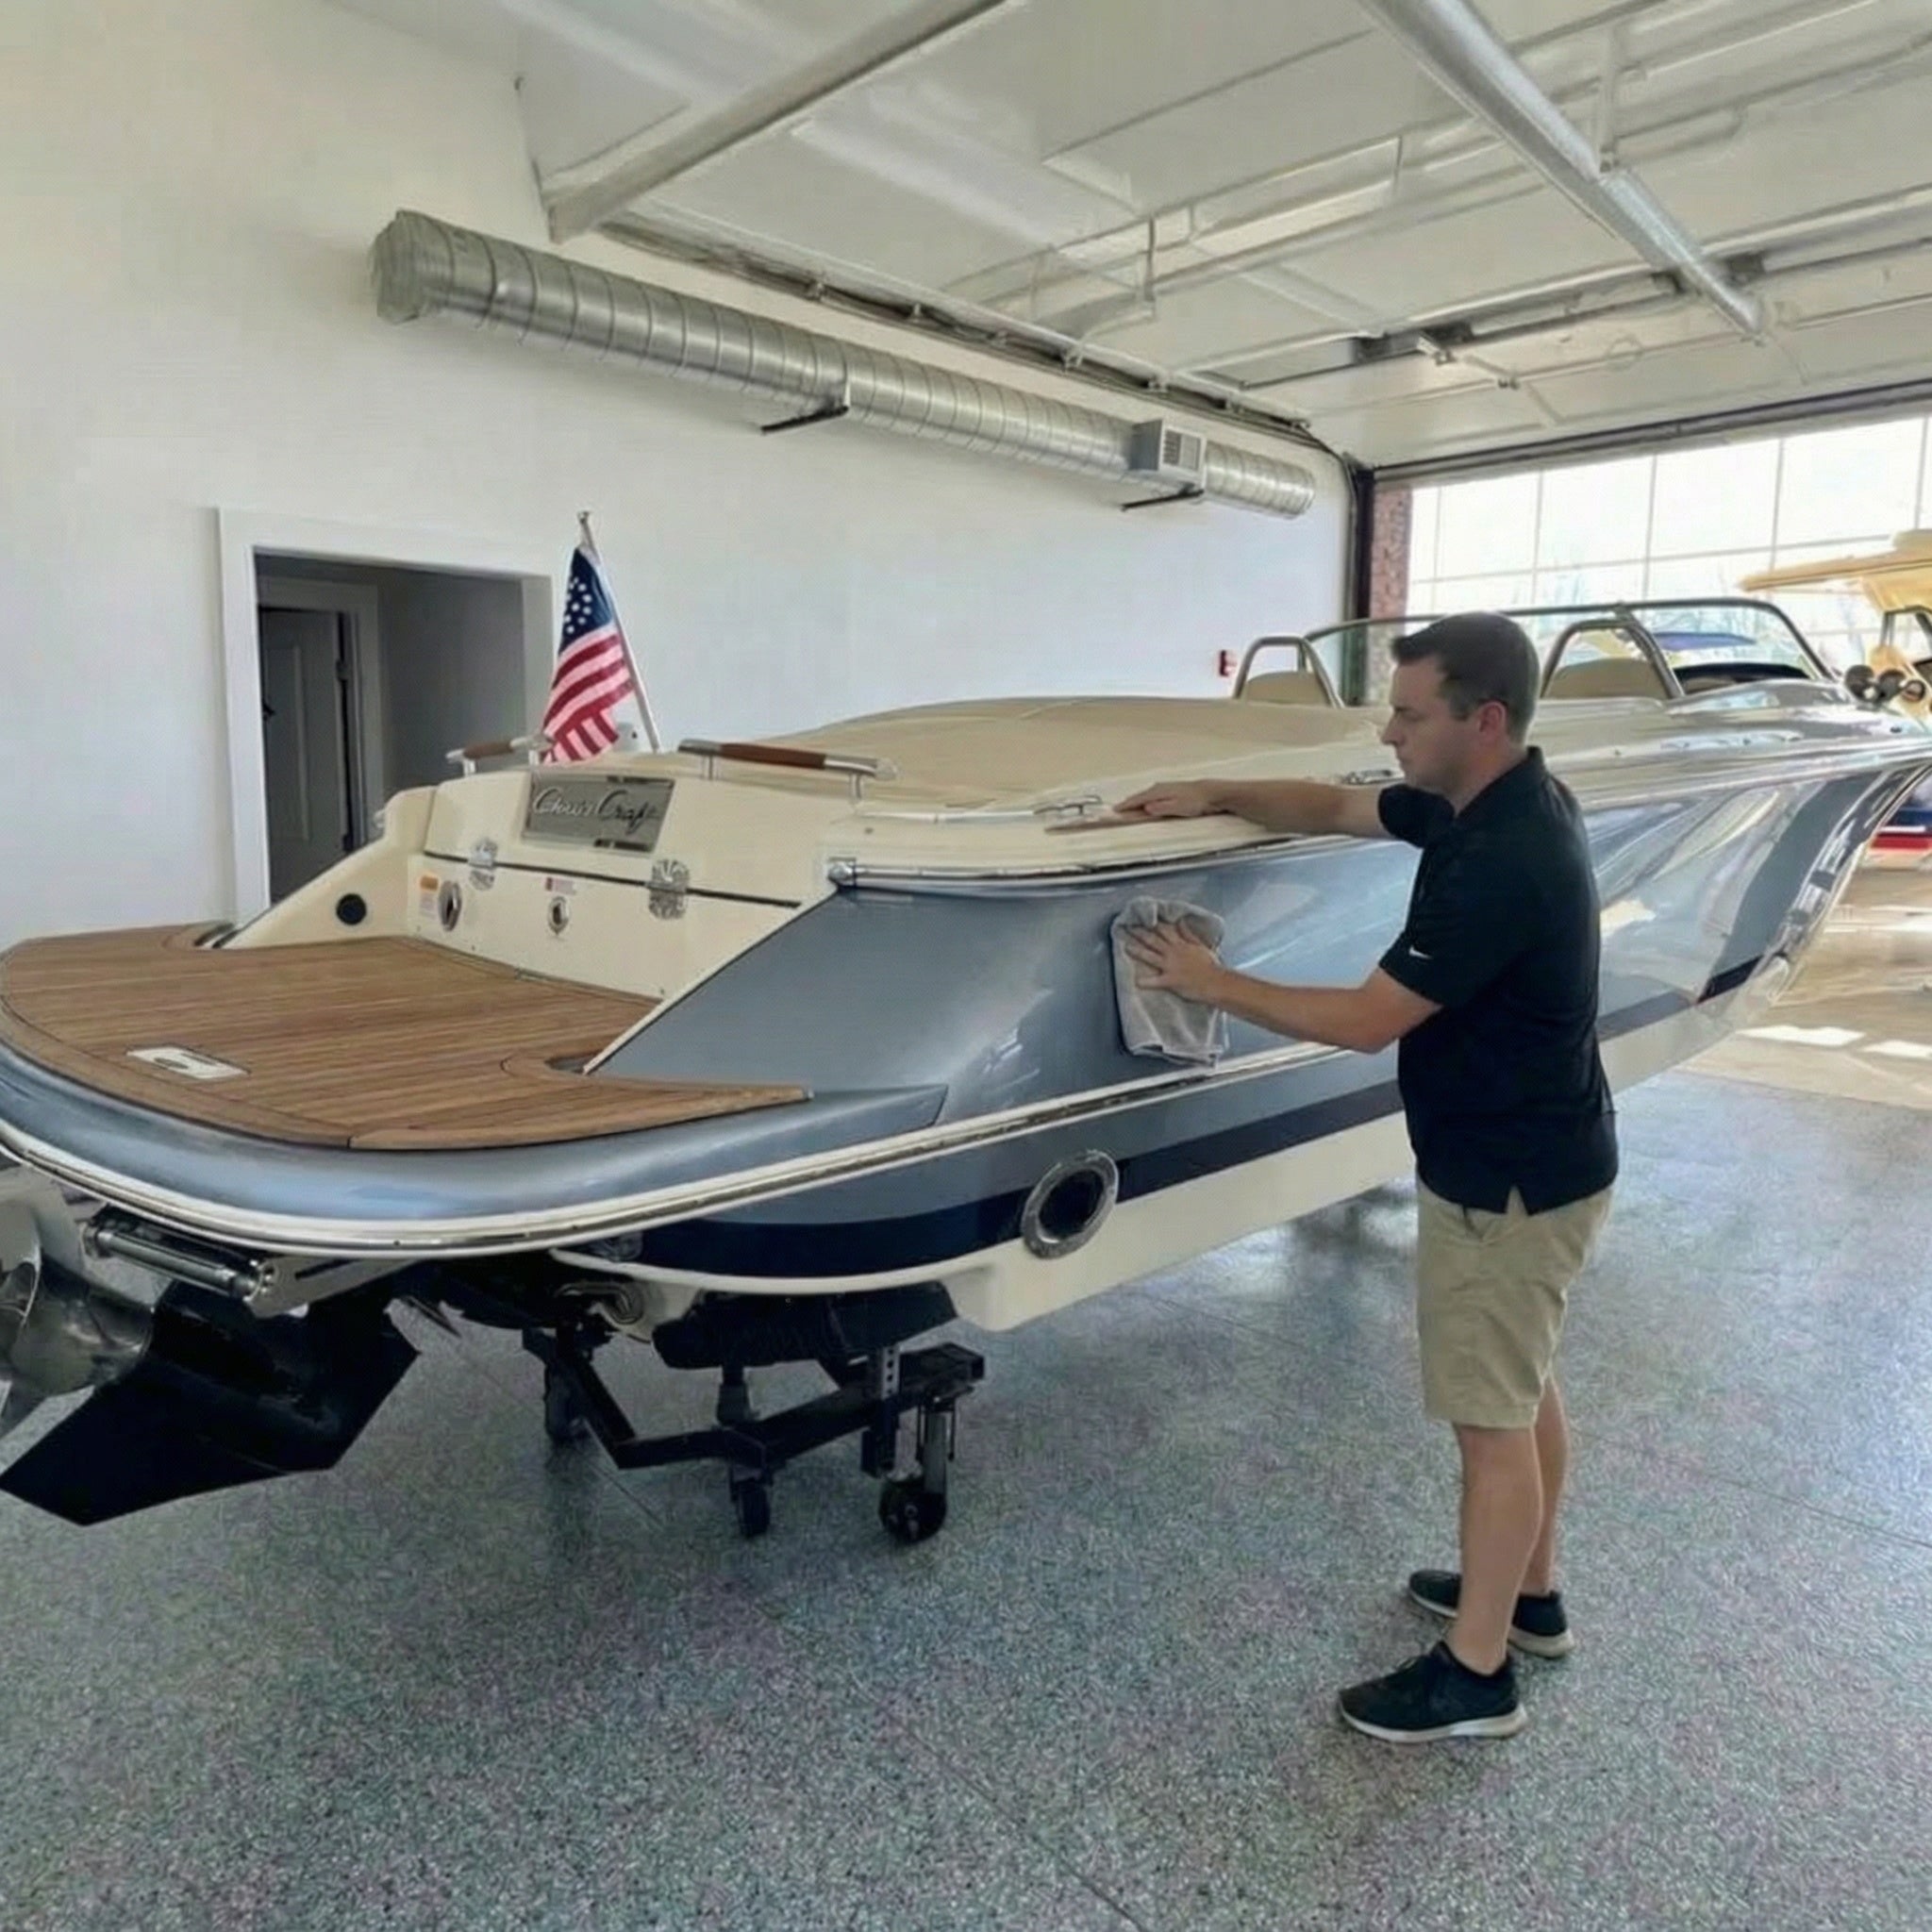
Stop machine. Use a high-absorbency microfiber towel to remove remaining compound and to view your results.
What you're seeing: The formula started out cutting away the surface layer oxidation, broke down into a fine polishing solution through the heat and friction of your pad and refined the surface as it finished. You’ve mechanically removed oxidation versus masking it. No fillers. No fake shine. No temporary gloss. True correction.
NOTE: Compounding and polishing are two necessary steps of the gelcoat correction process. Where and how they fit in to that process depend on the existing condition of your gelcoat. In the vast majority of cases, oxidized gelcoat can be corrected with compound and polish alone, without sanding. It is always best to perform a small test with compound before heading straight to sanding. In the rare event of severely oxidized gelcoat that does not react to compound alone, wet sanding may be required to fully remove the oxidation and restore the finish completely (before) applying the compound and polish required to remove sanding swirls and bring the boat back to a high shine. While rare, the possibility remains, as does the need for compounding –– and our one step diminishing abrasive technology allows you to perform that compound and polish in a single final step before applying protection.
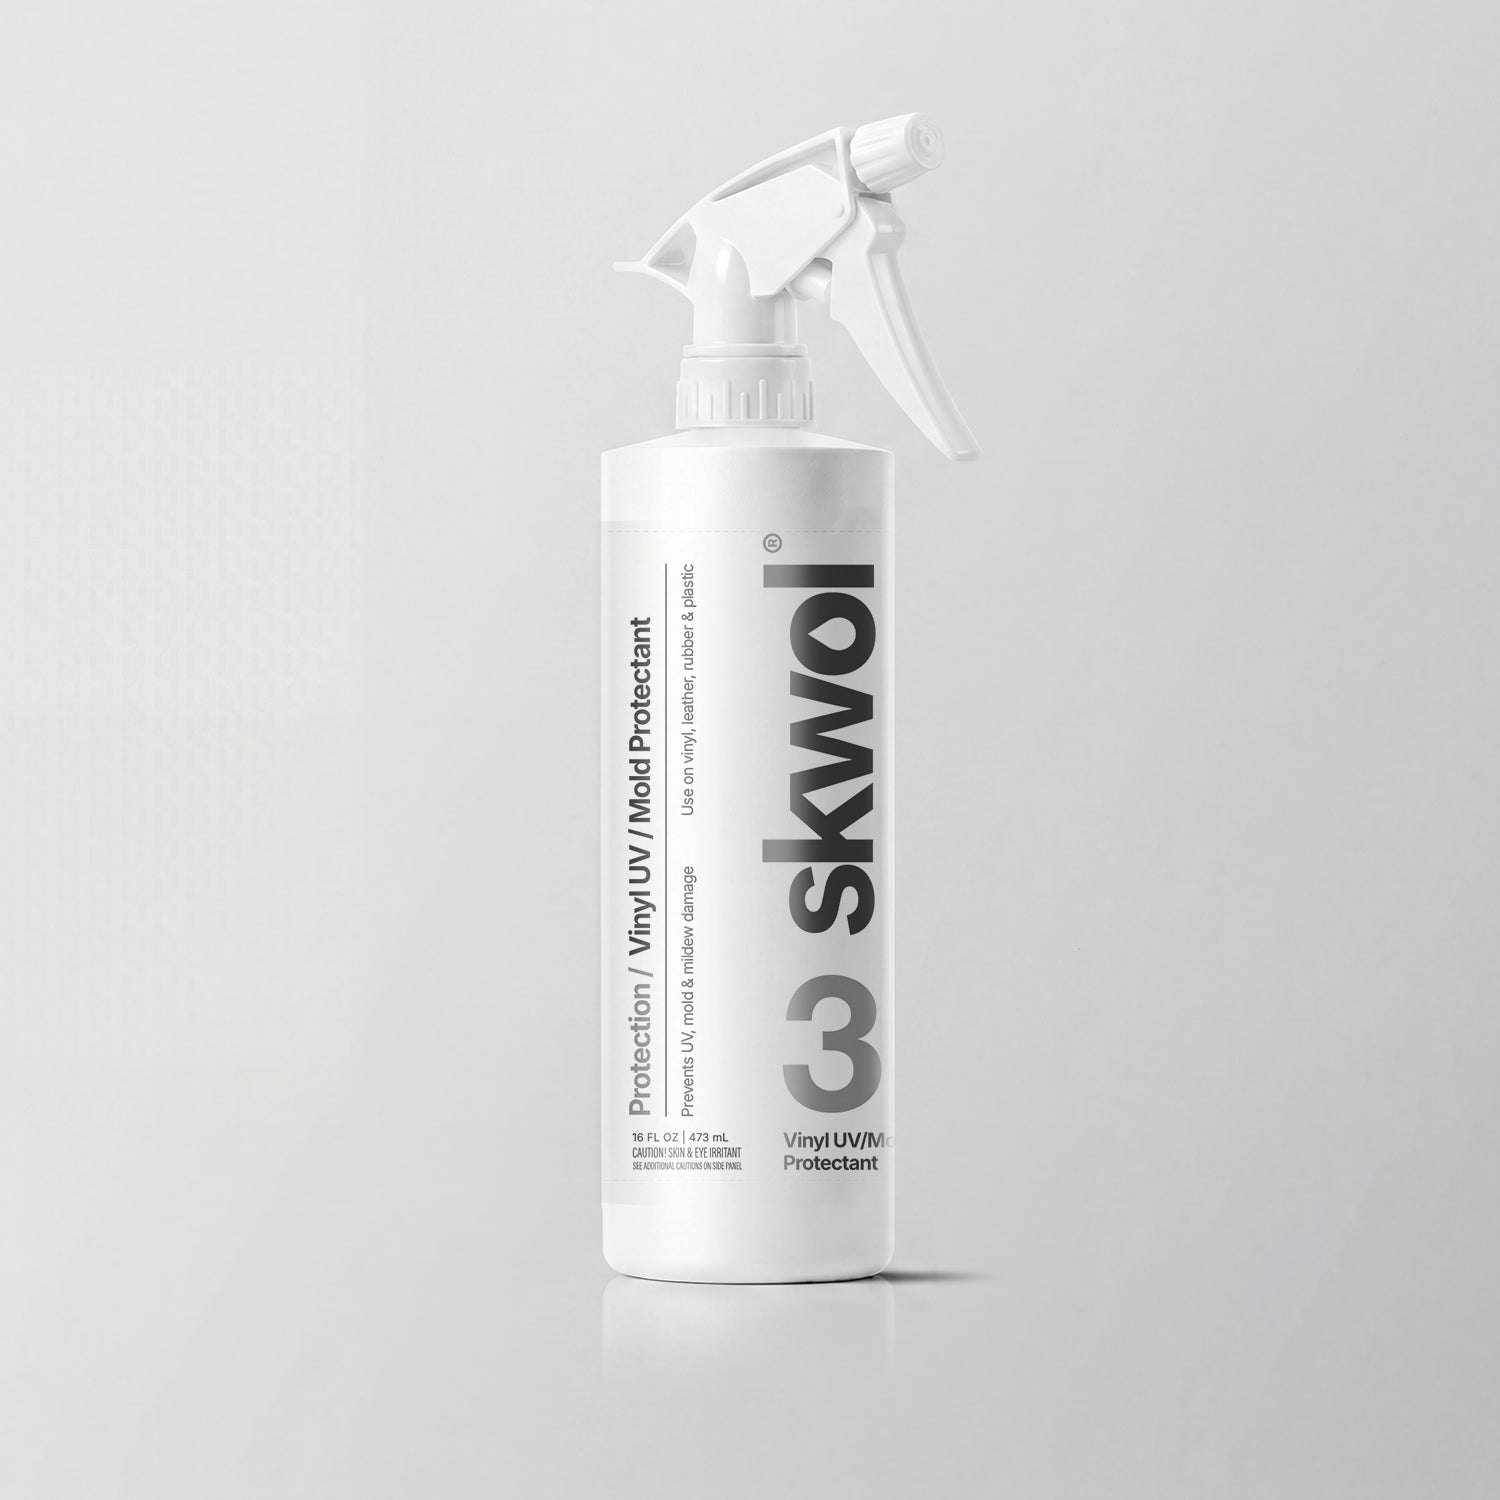
PROTECTION
Required Tools
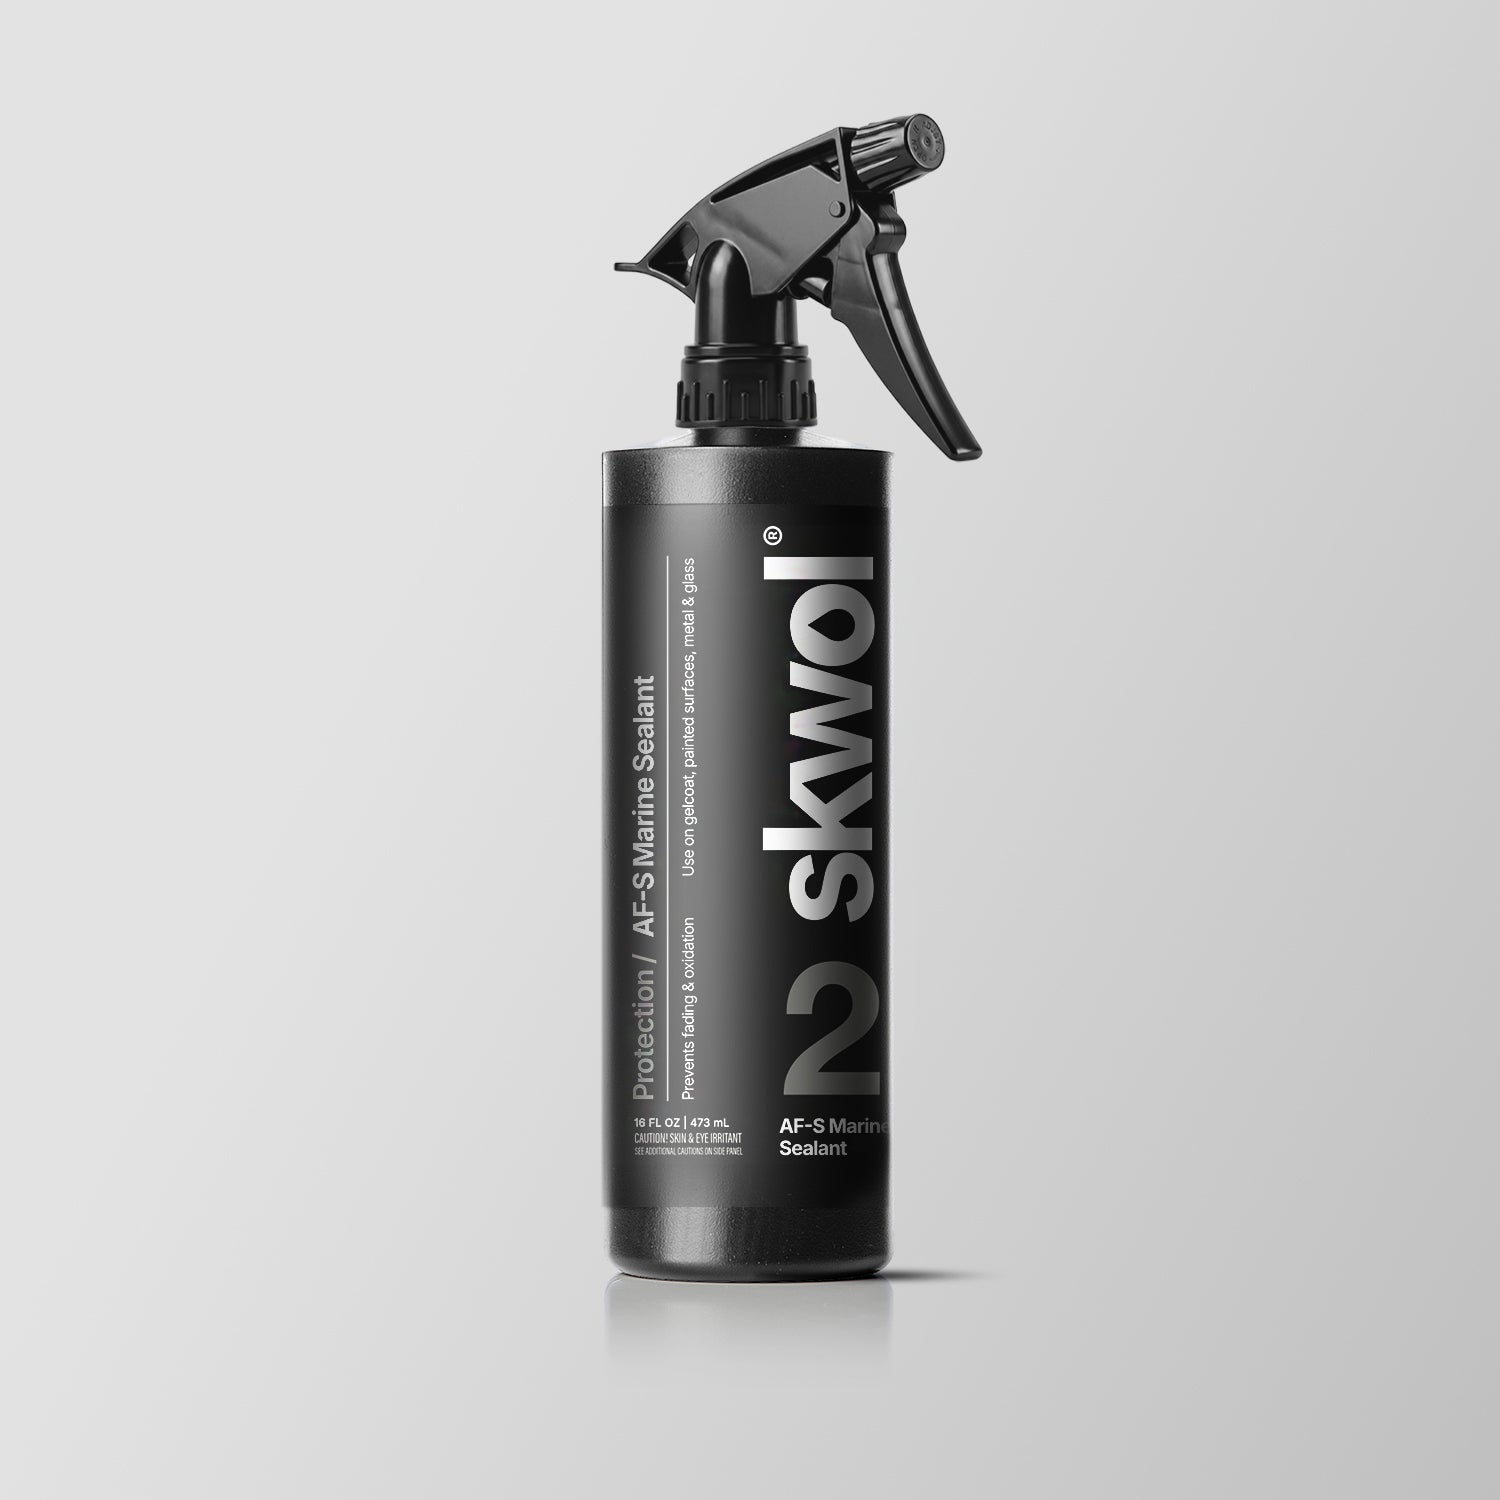
The proper prep, cure time and routine applications are essential for proper surface protection and preventing the recurrence of oxidation. Every solution is different but for the best combination of cost, ease-of-use, durability and longevity we recommend and offer a ceramic sealant.

Locking In Your Results
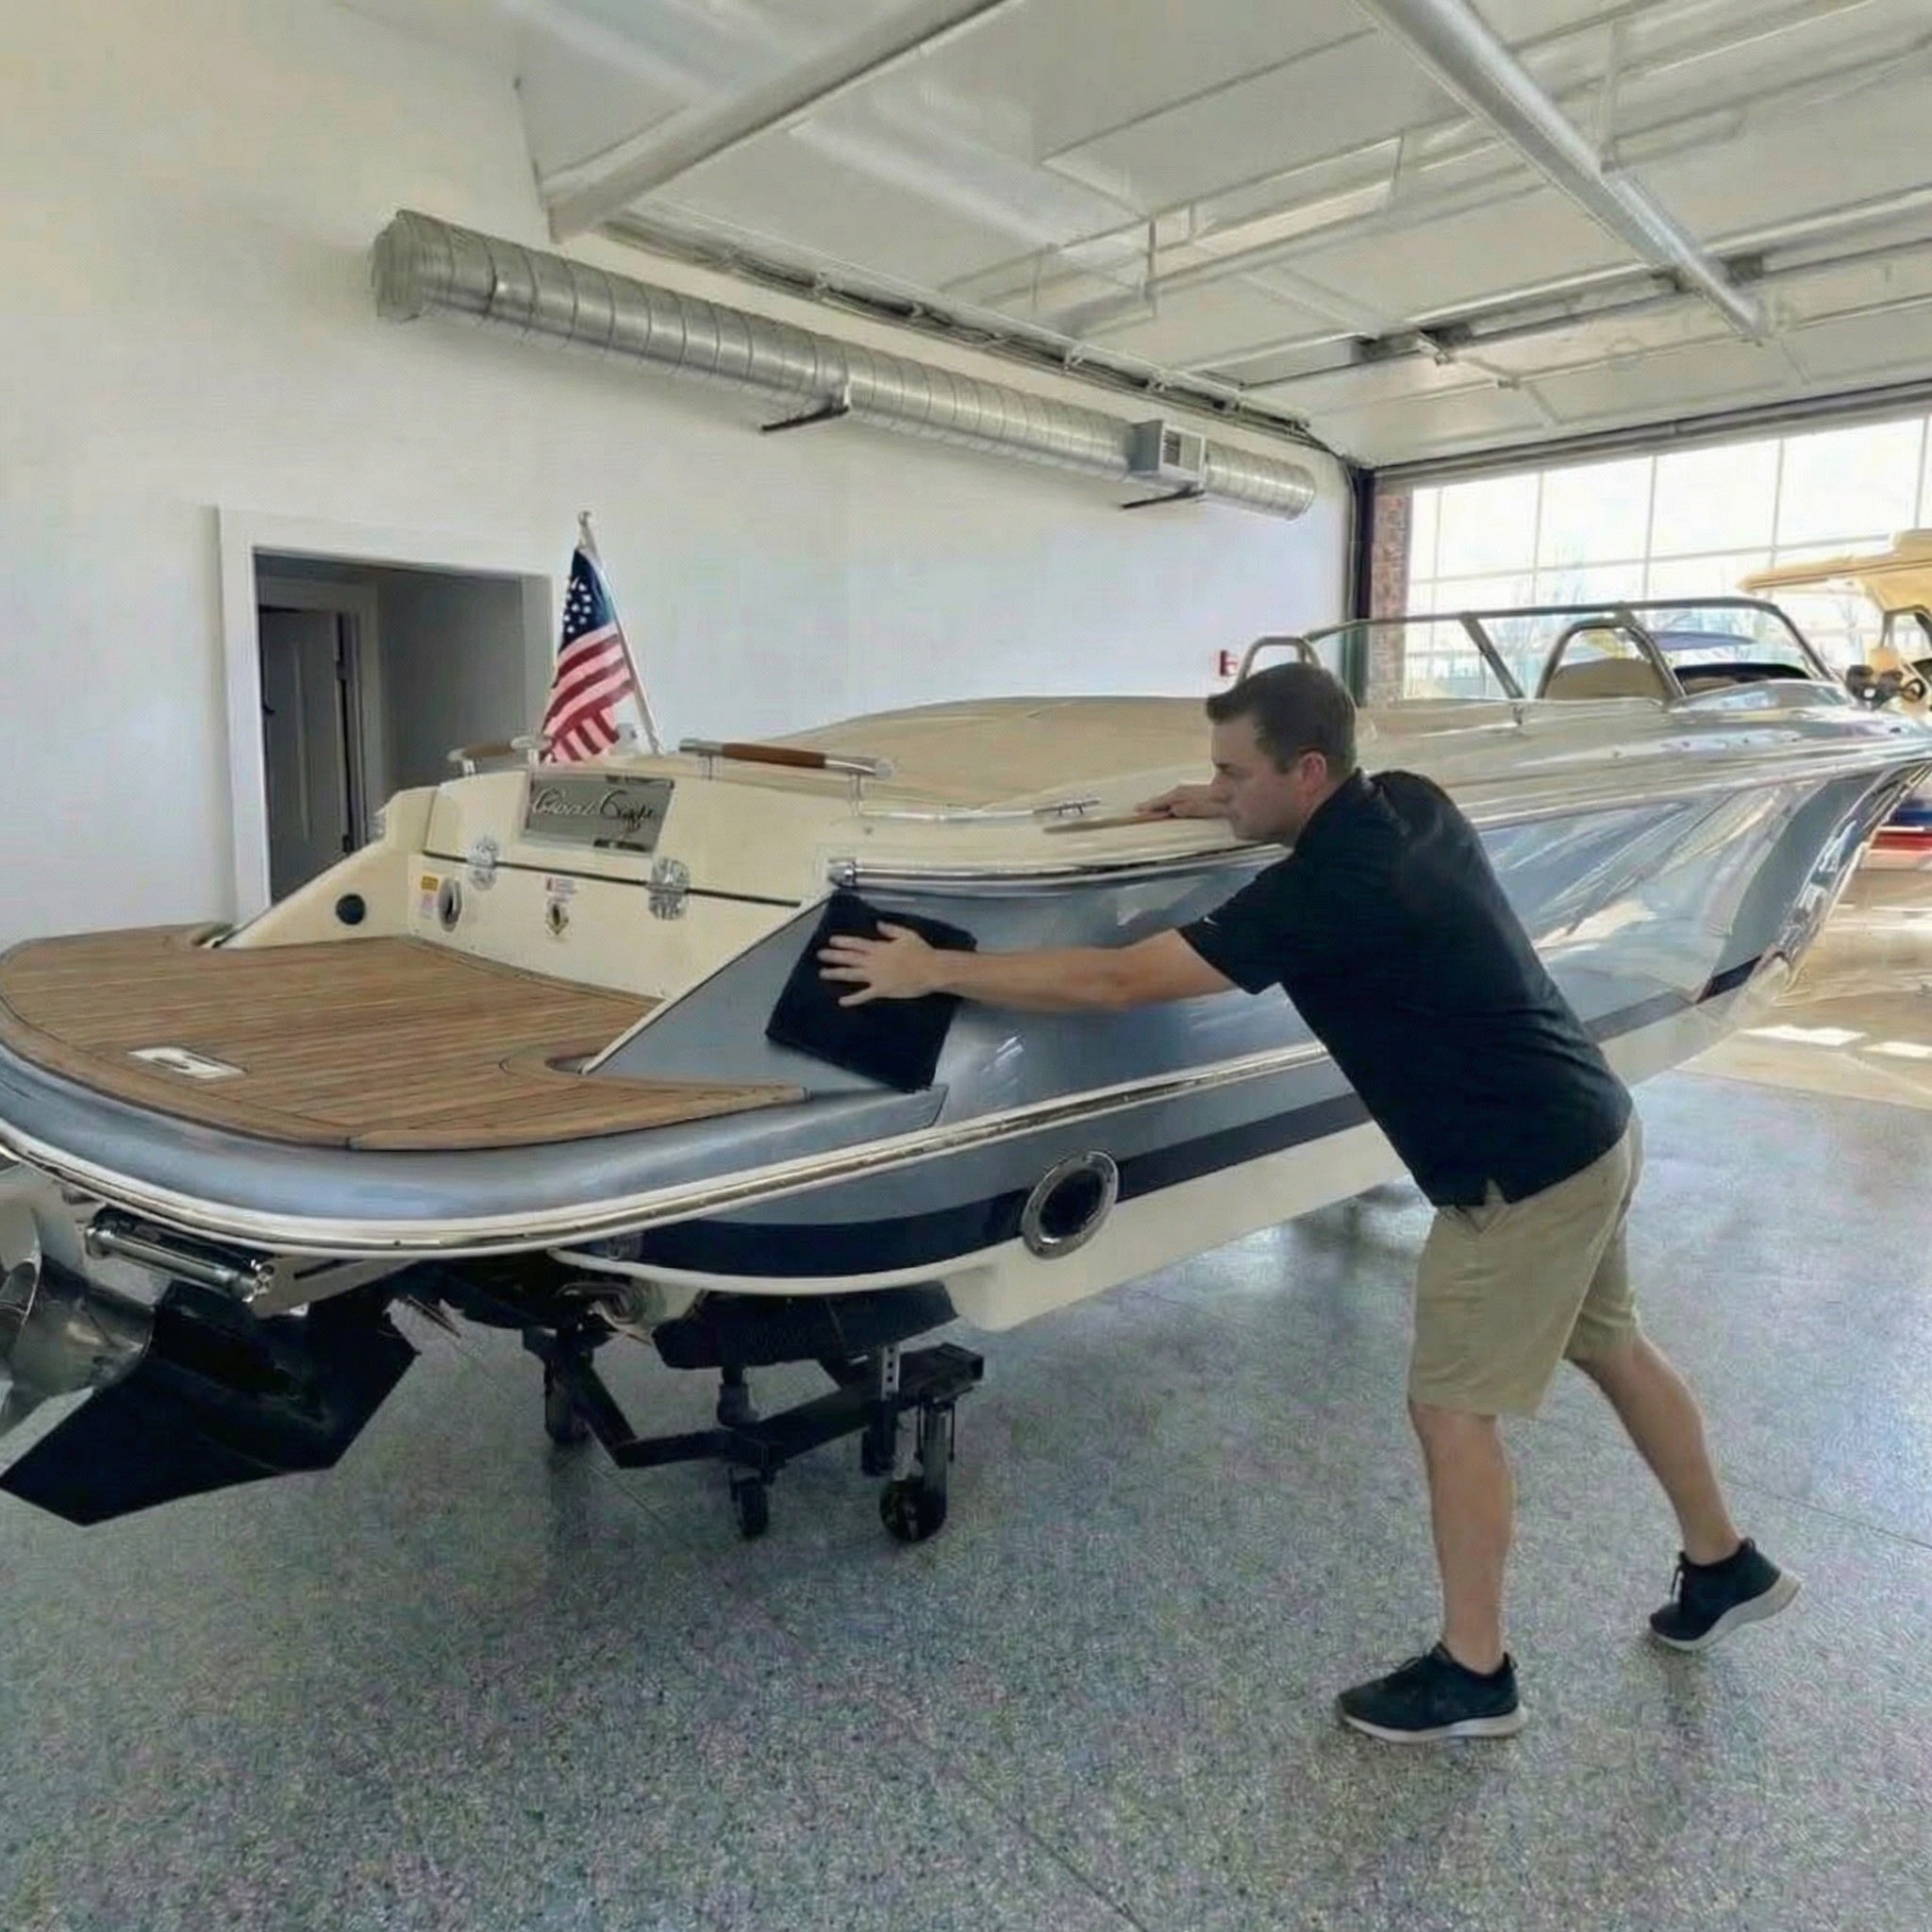
Protection
Compounding removes oxidation but does not protect your boat. Once oxidation is removed, fresh gelcoat is exposed and must be shielded from UV and the elements—otherwise degradation begins immediately, like bare wood left in the rain. Traditional waxes typically last only 4–6 weeks and require frequent reapplication, which many owners overlook. AF-S Marine Sealant provides a longer-lasting, user-friendly solution with up to 12X the protection of wax.
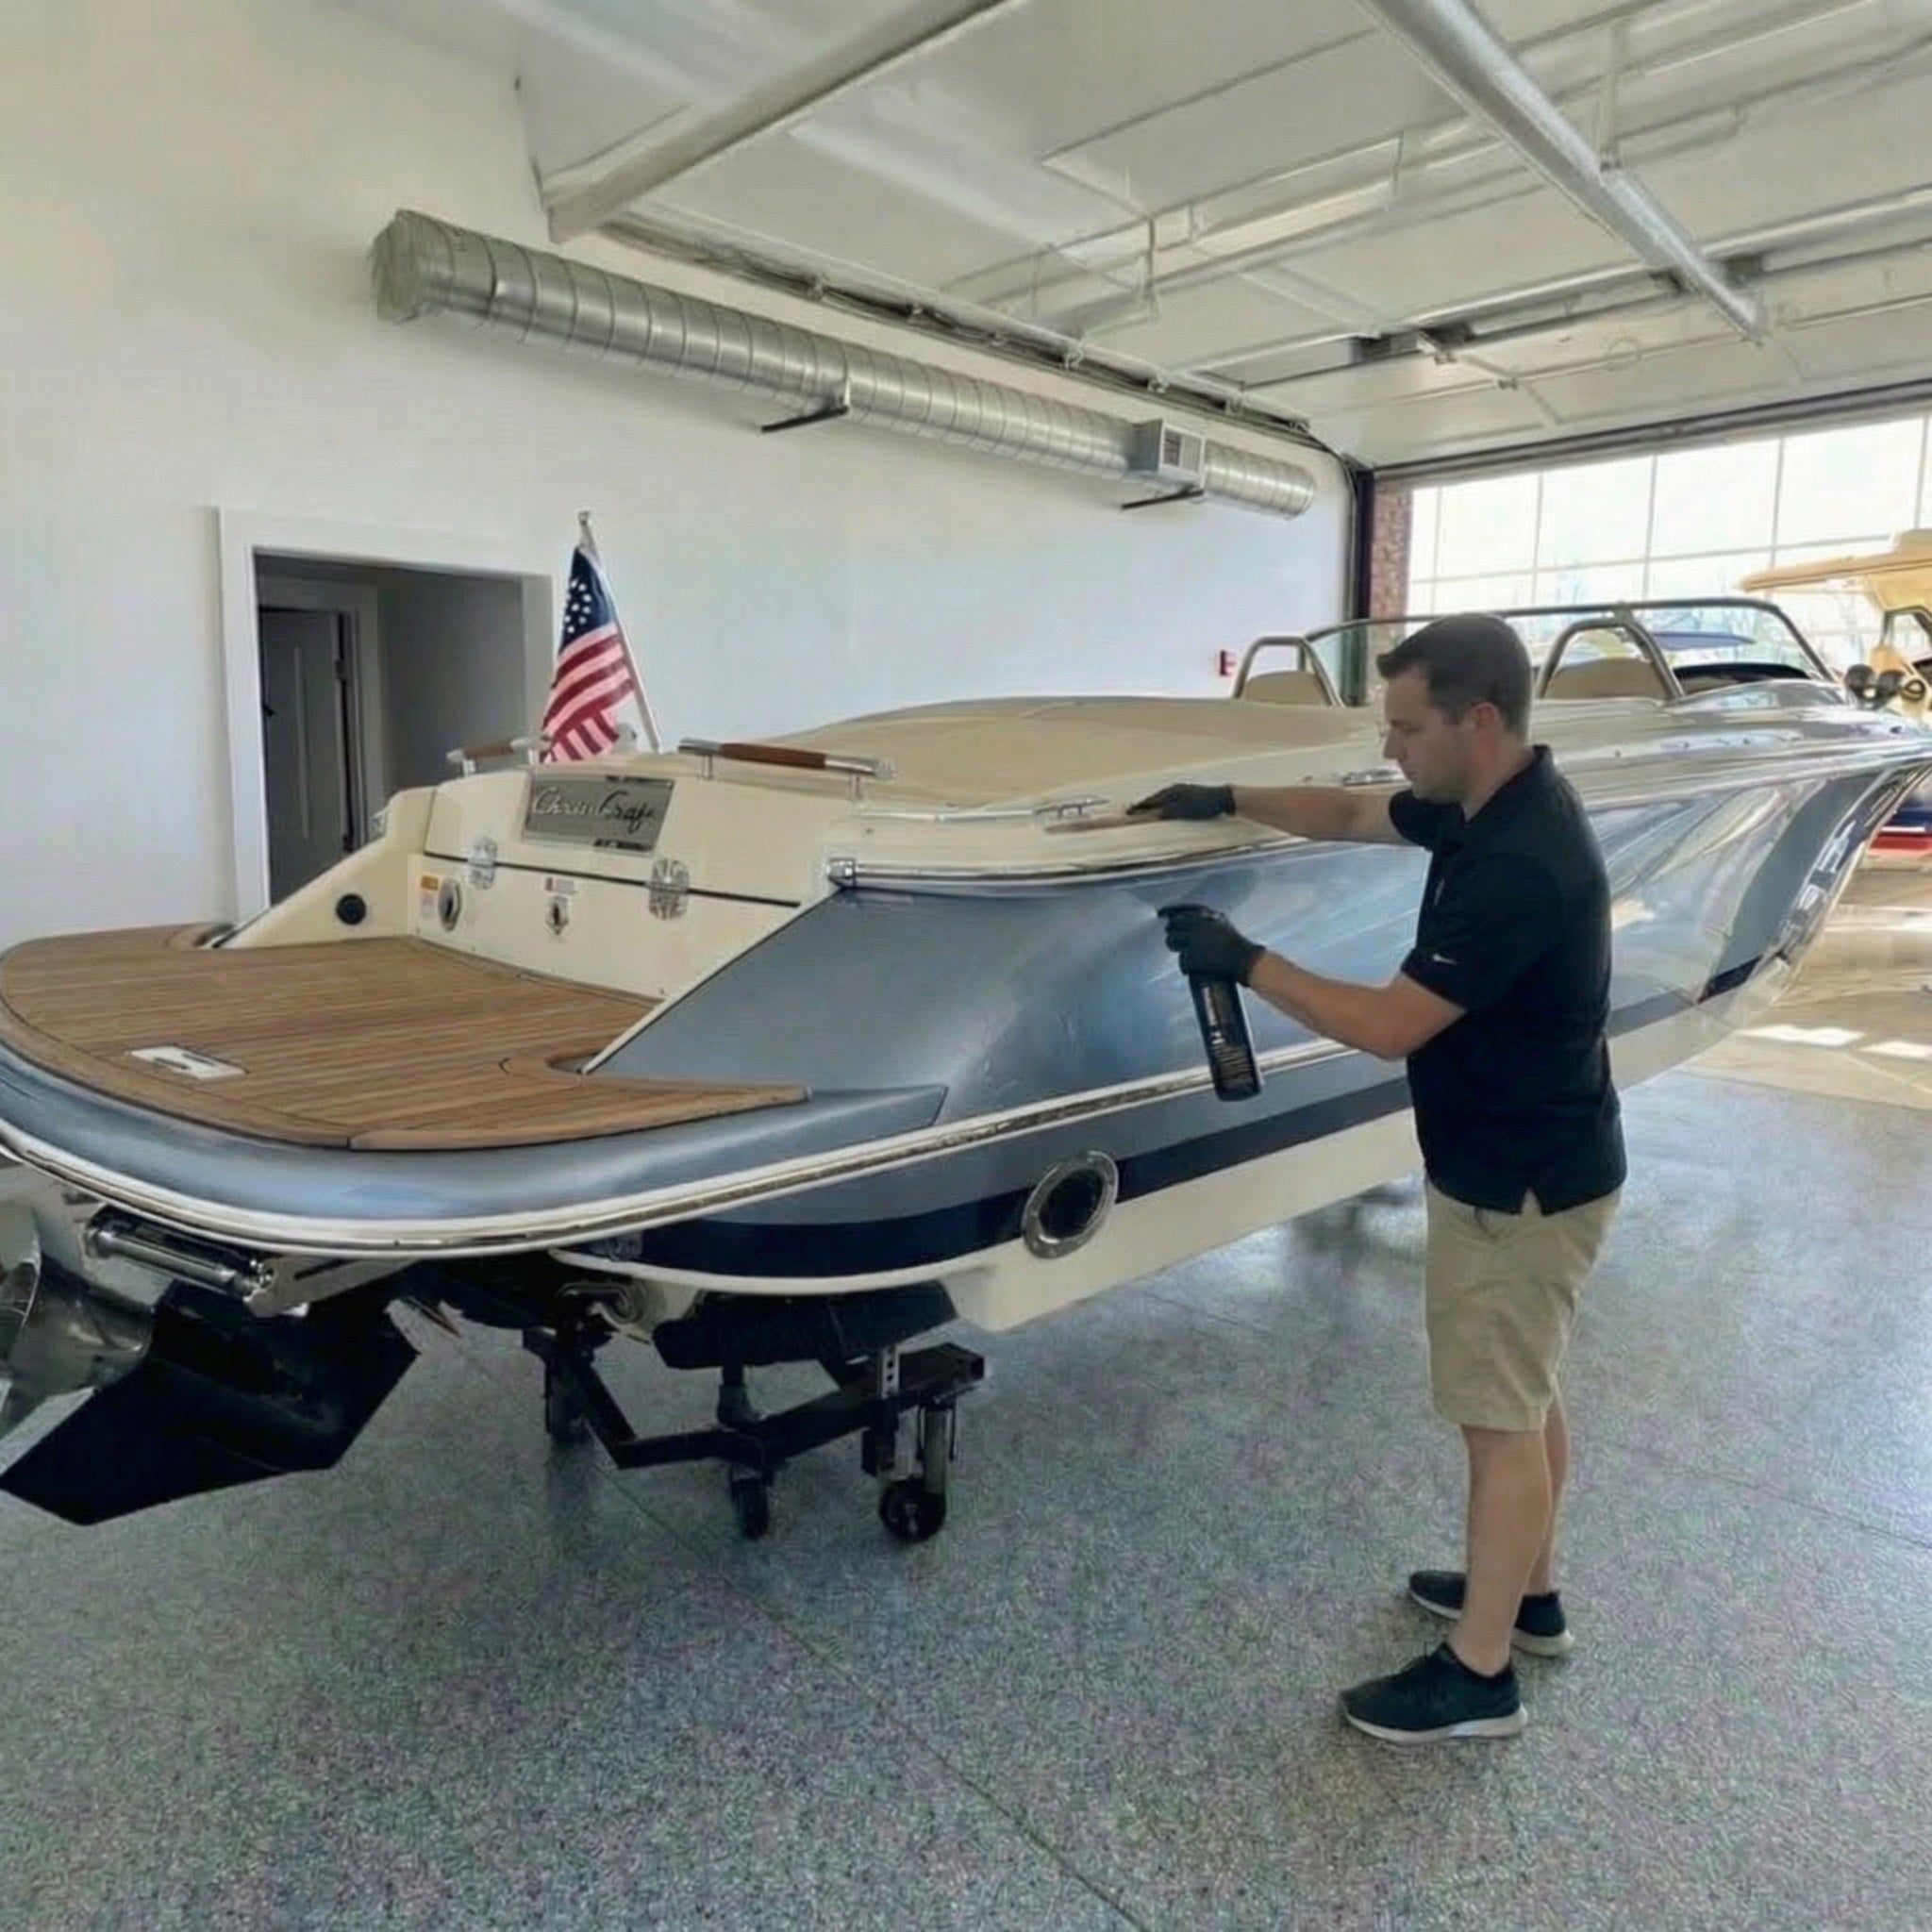
Spray the surface
In moderation, spray a light mist onto the surface of the boat, once again working in 2x2' sections for the best visibility and control.
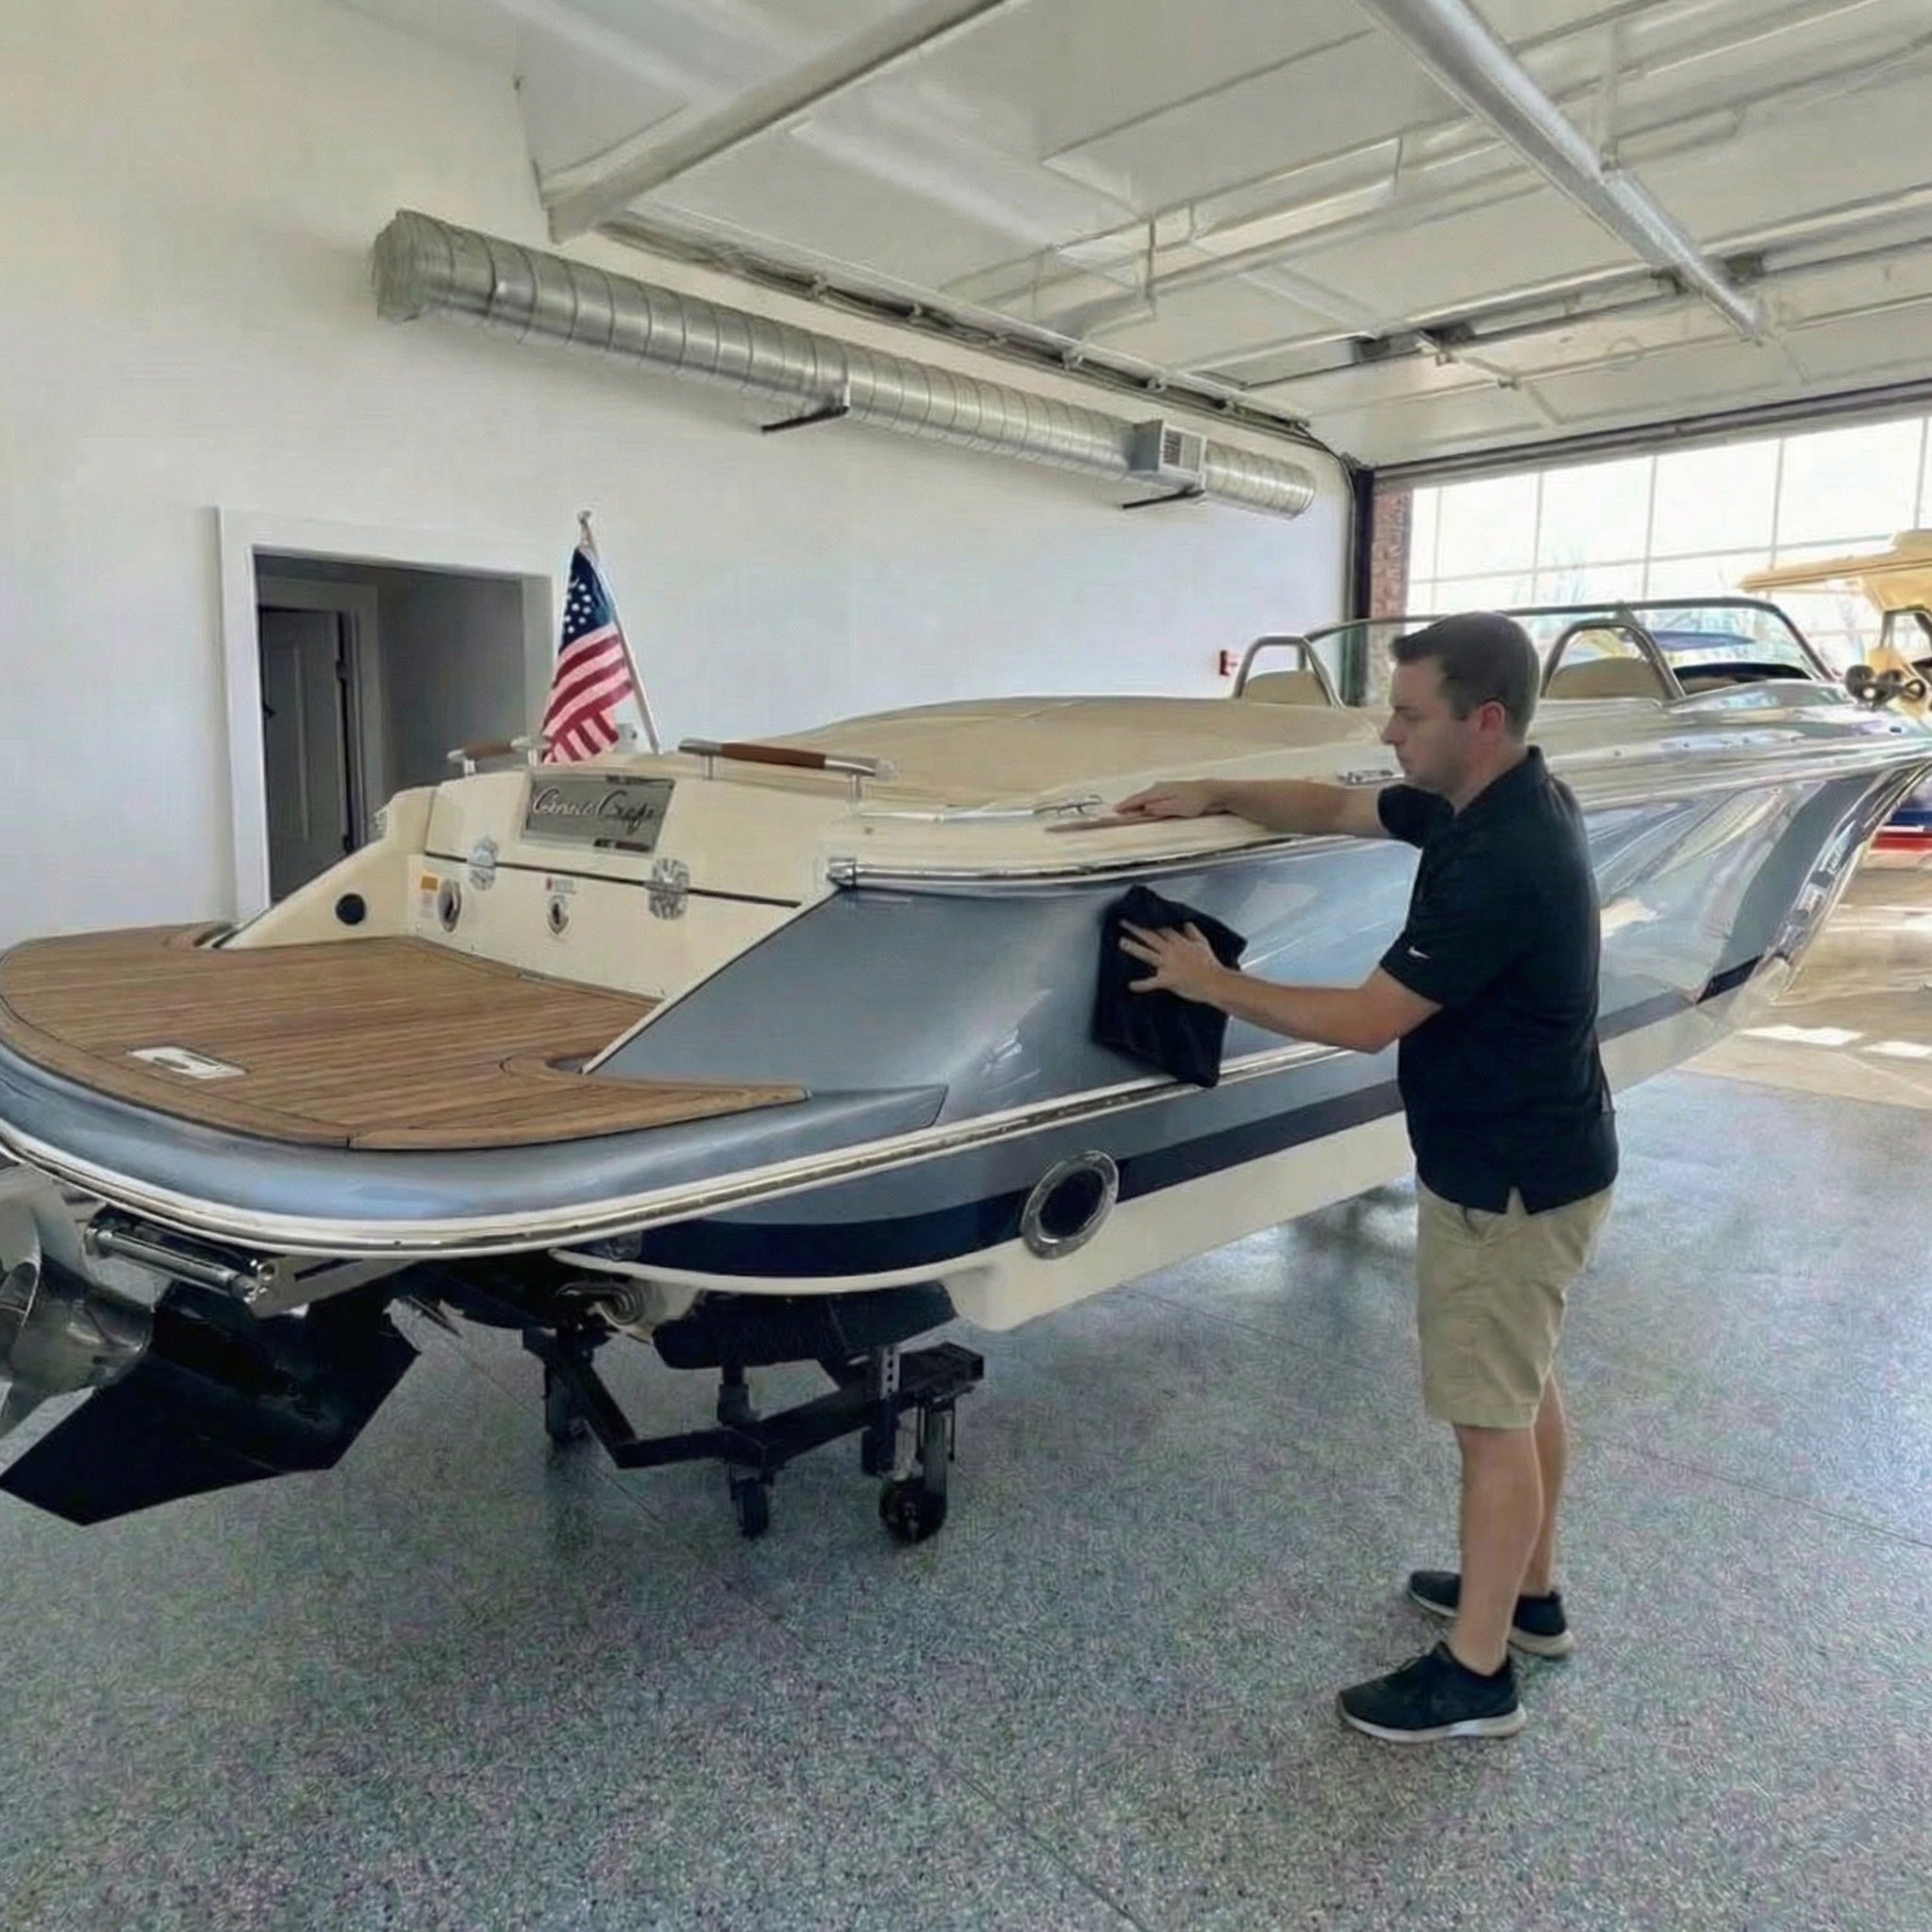
Spread evenly
Spread evenly across your working area with a low-absorbency microfiber, covering every inch.
Buff completely
Continue buffing with the microfiber towel completely into the gelcoat until fully dry. Allow a minimum of 24 hours before water exposure for chemical bonding to cure. During cure, the solution forms a covalent (chemical) bond with your gelcoat, the protection layer stabilizes and hydrophobic properties develop.
MAINTENANCE
Required Tools
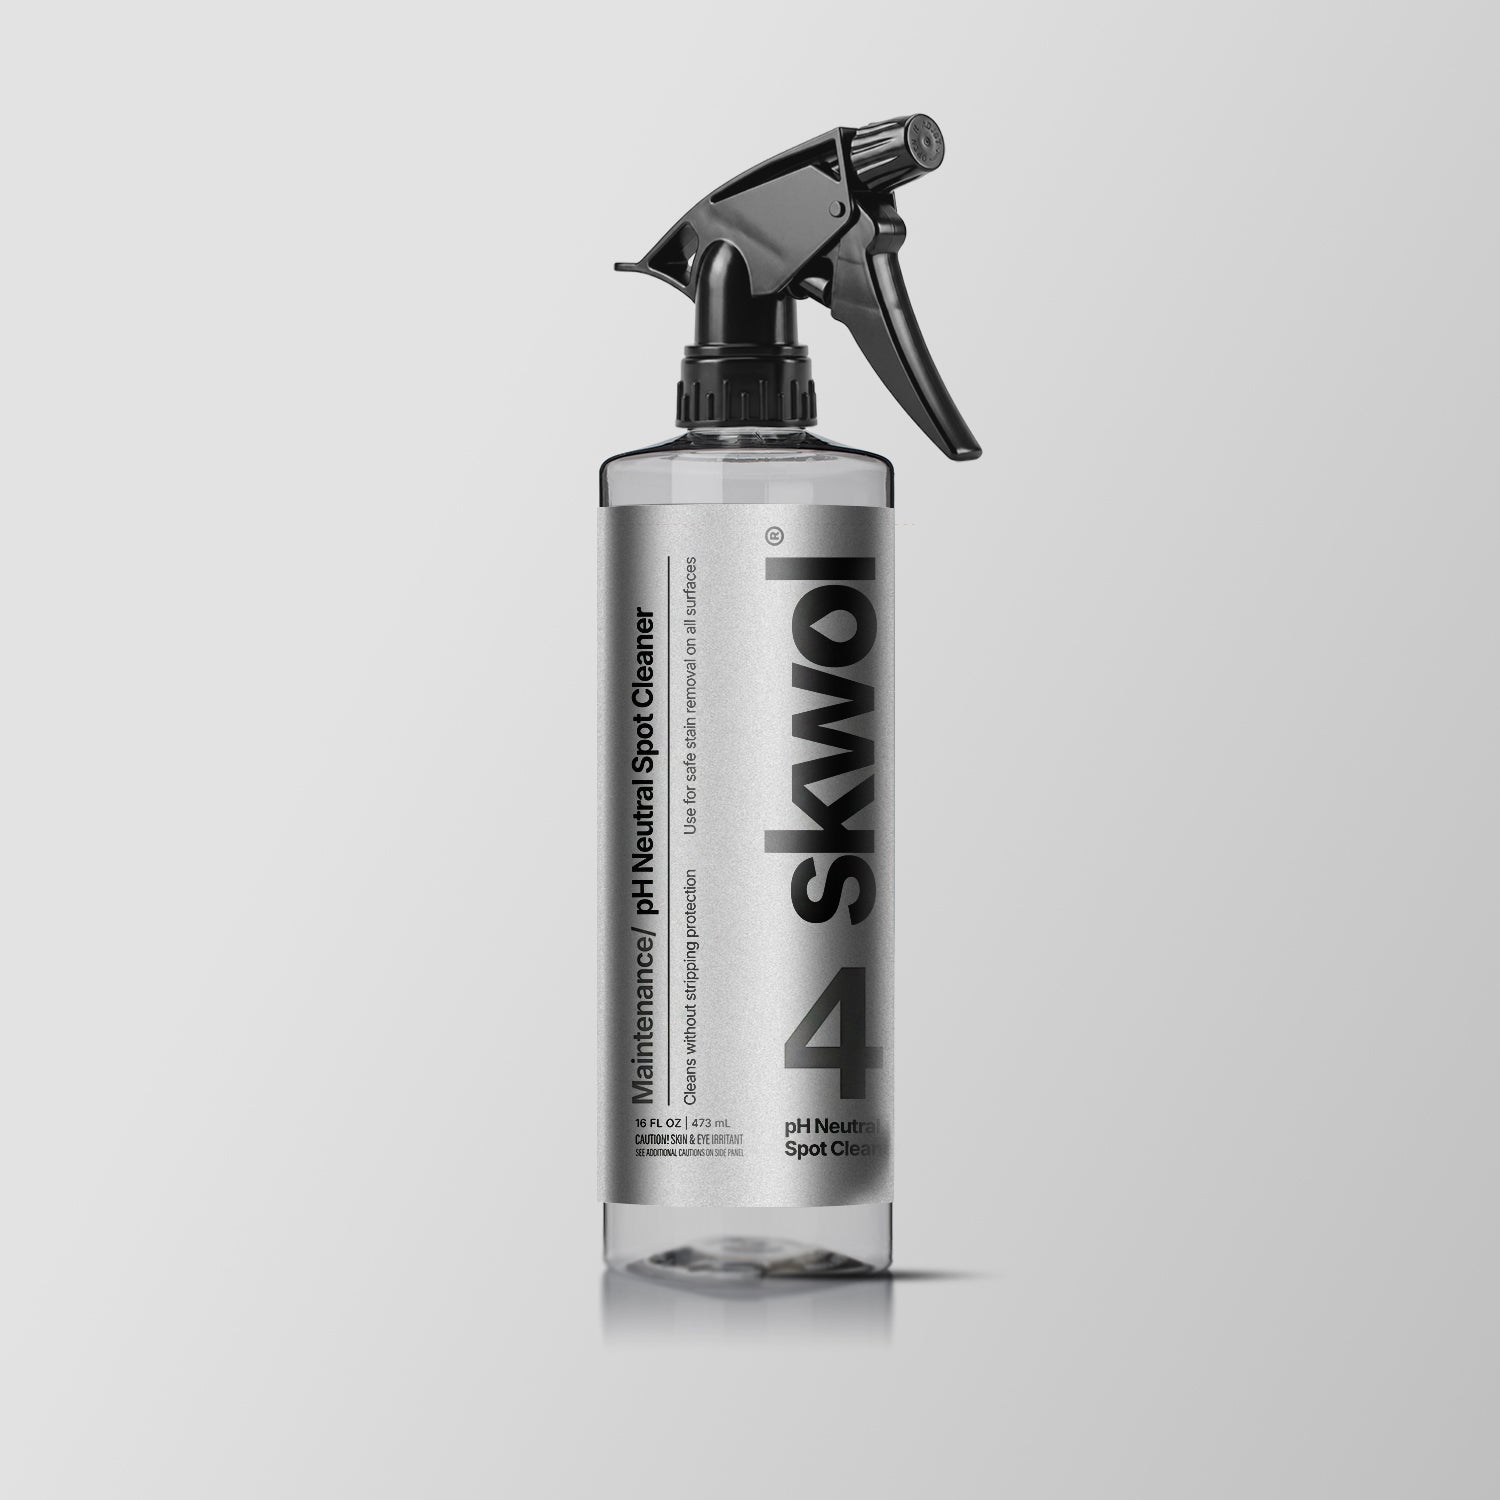
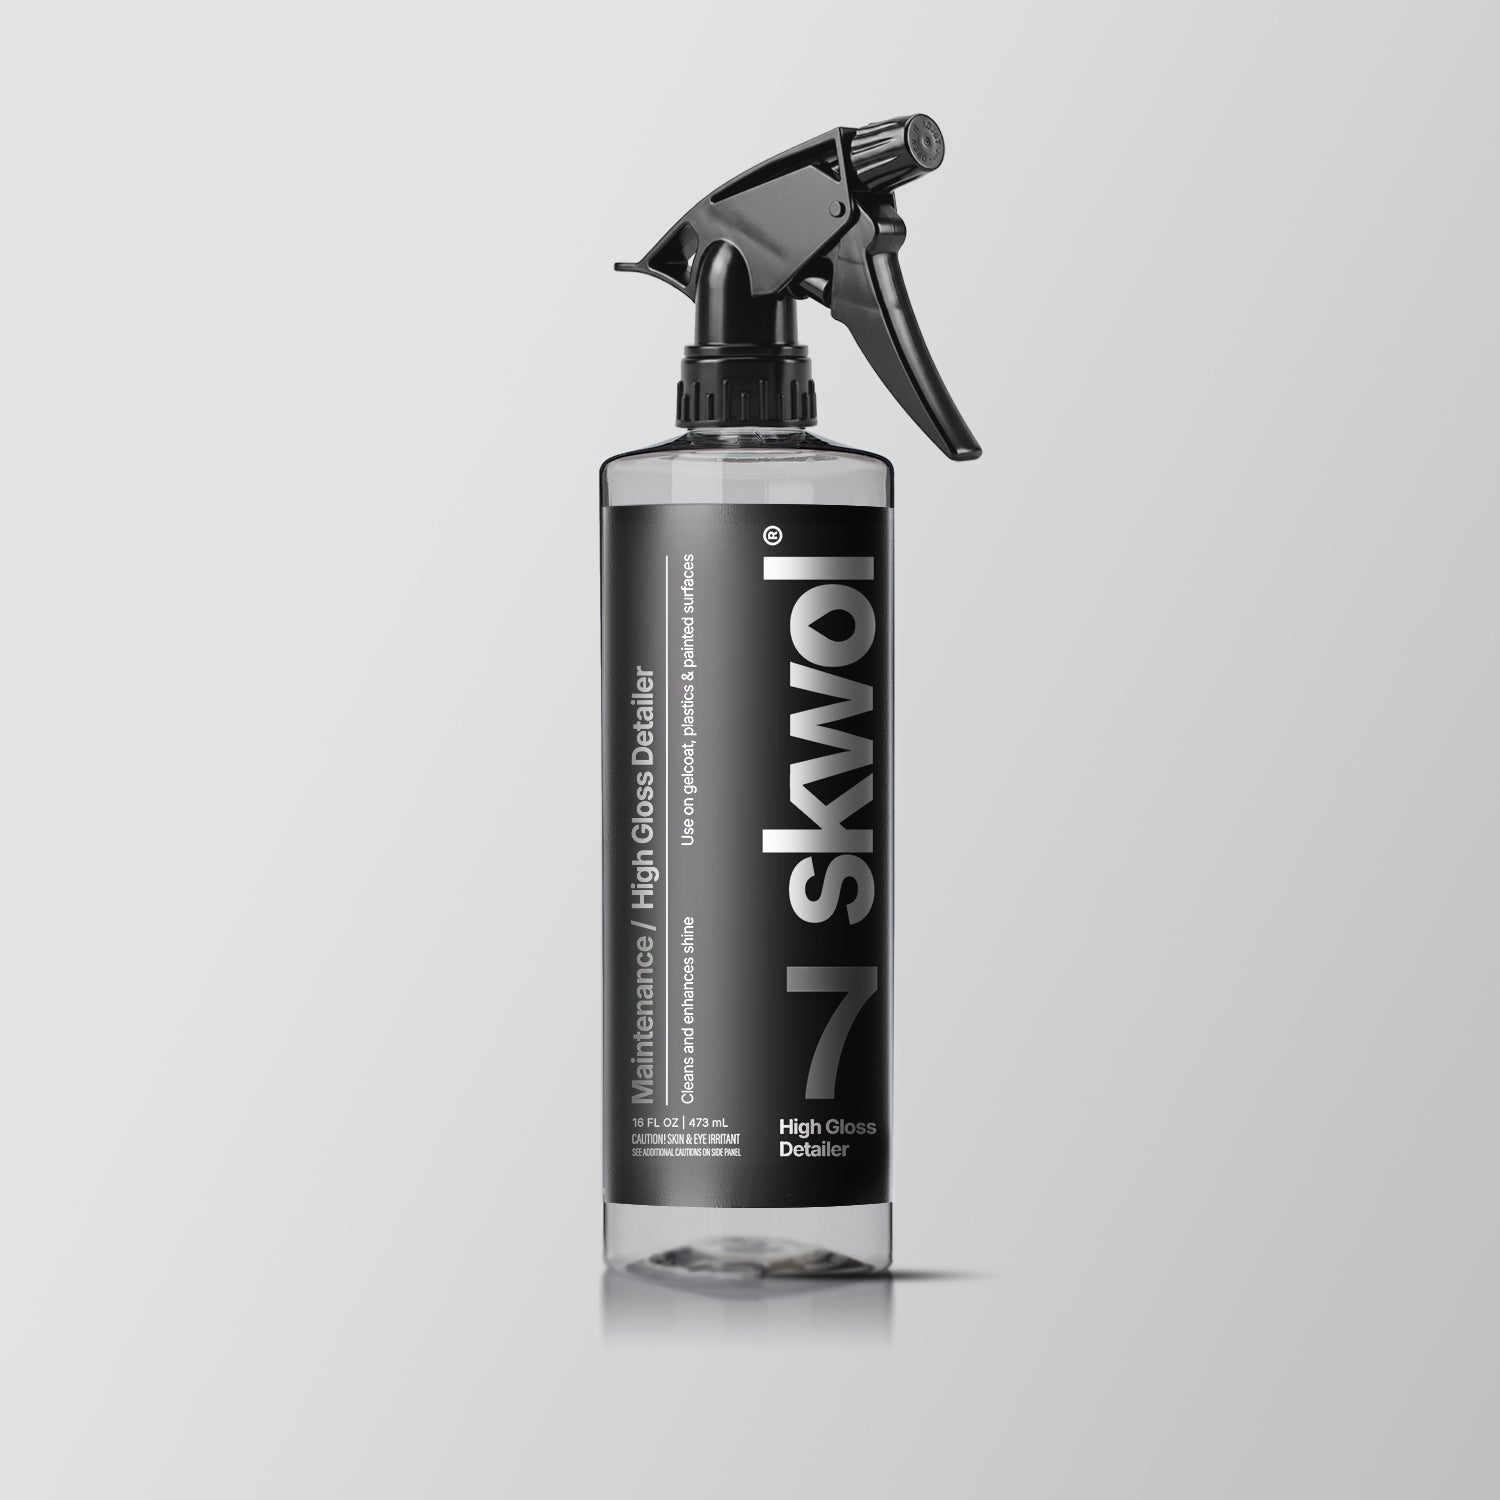
This is where most boat owners unintentionally undo their work. After protection cures, use only pH Neutral cleaners and confirm on label (not marketing terms)
Words like "Biodegradable", "Eco-friendly" "Gentle" or "Safe" do NOT indicate pH neutrality. For ongoing routine maintenance, avoid dish soap, solutions containing degreasers, household cleaners, and acid-based products. These can strip protection instantly. When protection is removed, UV quickly damages gelcoat and oxidation can return rapidly.
AF-S Marine Sealant
Application Schedule
Sunlight intensity varies dramatically by geography. It's important to follow the schedule below in order to maintain your boat's protection from UV exposure.
🔴 High UV Regions
Reapply Every 3-4 Months
Average UVI: 7–9+
- Florida
- Southern Texas
- Arizona
- Southern California
- Gulf Coast
- Southern Nevada
- Hawaii
🟠 Moderate-High UV
Every 4–6 Months
UVI: 5–6
- Mid-Atlantic (VA, NC)
- Inland California
- Southern Midwest
- Parts of the Carolinas
- Lower Southwest
🟡 Moderate UV
Every 6–9 Months
UVI: 4–5
- Northeast
- Great Lakes
- Upper Midwest
- Northern Plains
- Inland Pacific Northwest
🟢 Low UV
Every 9–12 Months
UVI ≤3
- Coastal Pacific Northwest
- Northern New England
- Alaska

Troubleshooting Guide
Before You Start (Most Important Step)
Most issues can be avoided before the machine even turns on.
- Work on a cool surface, out of direct sunlight
- Wash thoroughly with a pH-neutral soap
- Remove contaminants (salt, grime, buildup)
- Always test a small section first
- Start with least aggressive method, then adjust
Recommended Setup (Baseline)
- Machine: Dual Action (DA) polisher preferred
- Speed: Moderate (adjust based on results)
- Pads: Use multiple pads—do not rely on one
- Technique: Light–moderate pressure, slow arm speed, overlapping passes
Results depend on machine type, pad selection, technique, and surface condition.
Shine isn't being restored
What’s happening:
Oxidation is heavier than expected or not fully removed.
Fix:
- Increase working time (slower passes)
- Apply slightly more pressure
- Switch to a more aggressive pad
- Work smaller sections (2’x2’)
NOTE: Generally, when gelcoat is significantly oxidized or severely degraded, a compound alone may not fully restore the surface. In those cases, more aggressive surface correction methods such as wet sanding are sometimes required before compounding and polishing. Outcomes can vary widely depending on the condition of the gelcoat, as well as the tools, pads, and techniques used during the process.
Results appear hazy or cloudy
What’s happening:
Micro-marring from pad choice, speed, or technique.
Fix:
- Reduce pressure
- Clean or swap pad
- Slow machine speed slightly
- Do one final light pass
Swirl marks or holograms appearing
What’s happening:
Typically from rotary use, angle, or excess pressure.
Fix:
- Keep pad flat at all times
- Reduce speed and pressure
- Follow with a DA for refinement (if available)
- Avoid dry buffing
Product is drying too fast
What’s happening:
Heat buildup or overworking the product.
Fix:
- Work in shade
- Use less product
- Clean pad more frequently
- Reduce speed / pressure
Uneven results, blotchy or patchy finish
What’s happening:
Inconsistent technique or missed oxidation.
Fix:
- Work in smaller sections
- Overlap passes by ~50%
- Maintain consistent arm speed
- Ensure full oxidation removal before moving on
Pad is clogging or not working anymore
What’s happening:
Oxidation + product buildup reducing effectiveness.
Fix:
- Clean pad frequently during use
- Rotate between multiple pads
- Replace pad if overly saturated
After Correction (Do Not Skip This)
Once oxidation is removed:Wipe surface cleanApply a long-term protectant (ceramic sealant recommended)Maintain using pH-neutral cleaners onlySkipping protection will allow oxidation to return quickly.
Important Notes
Results vary based on surface condition, technique, tools, and environment. Improper machine use, excessive pressure, or incorrect pad selection can cause surface damage. Always test a small area before full application.
Need Help?
(786) 292-4903
info@skwol.us
We’re here to help guide you to the best result possible.
If you have questions about:
- Pad selection
- Machine setup
- Technique
Reach out and we’ll point you in the right direction.